
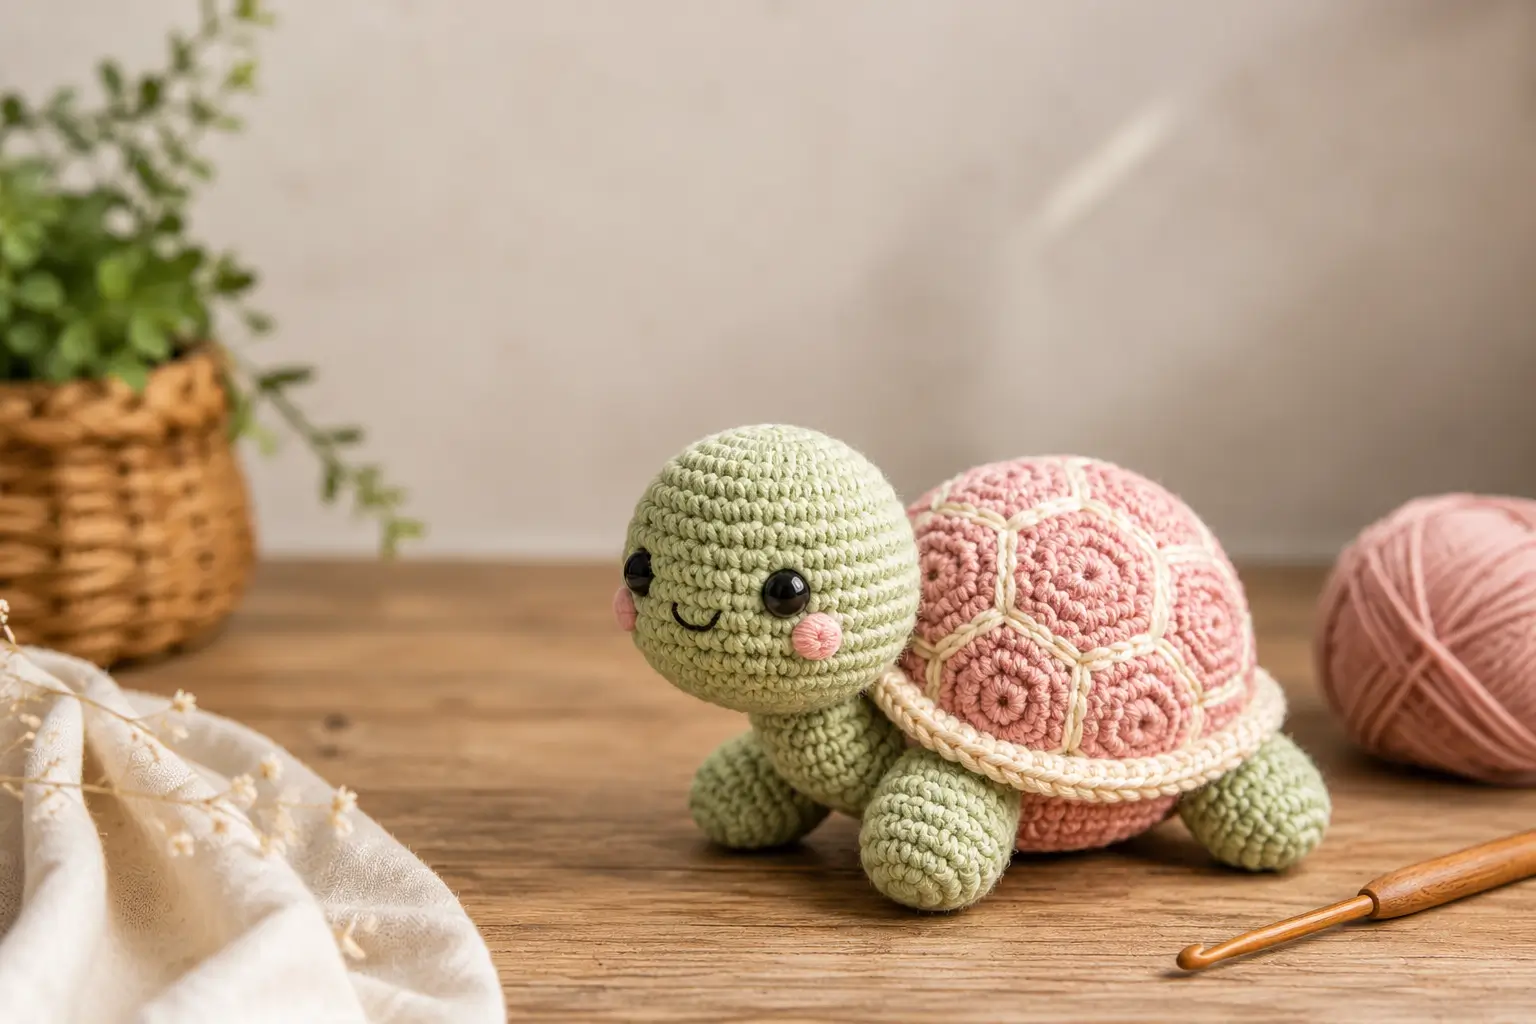
Crochet Turtle Amigurumi Pattern: 5 Easy Steps for Beginners
A crochet turtle amigurumi pattern is one of the friendliest ways to start your amigurumi journey, and this guide breaks the whole project into five clear stages so nothing feels overwhelming. Turtles are a favorite first project because their round shell and simple limbs forgive small mistakes better than more detailed animals do. This version is written with extra explanation at every stage, so even if you’ve never made an amigurumi before, you’ll understand not just what to do but why each step matters.
It’s a great fit for beginners, gift-makers, or anyone looking for a relaxing weekend project that doesn’t require advanced skills. Below, you’ll find everything from picking the right yarn to finishing touches that make your turtle look polished rather than lumpy.
Table of Contents
Project Overview
- Time to complete: 2-3 hours
- Finished size: Approximately 4-5 inches (10-12 cm) nose to tail
- Skill level: Beginner
- Hook size: 3.5mm (or size recommended on your yarn label)
This timeline is realistic for a first attempt — most beginners finish comfortably in one sitting, though taking breaks between the shell and the body is completely normal and won’t affect the final result.
Why This Crochet Turtle Amigurumi Pattern Works
- Spiral construction hides seams. Amigurumi is worked in a continuous spiral rather than joined rounds, so there are no visible seam lines running down the shell.
- The shell is worked flat, then attached. This two-piece approach is far easier for beginners than trying to shape a domed shell in one continuous piece.
- Consistent stitch count keeps shape. Once the base is set, most rounds use the same stitch count, which means fewer chances to lose track of increases and decreases.
- Small parts are worked separately. Legs and head are made individually and sewn on at the end, so a mistake on one piece doesn’t unravel the whole project.
- Stuffing happens gradually. Adding stuffing in small amounts as you go (rather than all at once at the end) keeps the shape even and prevents lumps.
Choosing the Right Yarn & Hook
For a first amigurumi, a worsted weight (size 4) cotton or cotton-acrylic blend yarn is the easiest to work with. Cotton has less stretch than acrylic, which helps stitches stay tight and even — important for amigurumi, where you don’t want stuffing peeking through gaps. A 3.5mm hook paired with worsted weight yarn typically produces the tight, dense fabric amigurumi needs.
When buying yarn, look for a smooth, tightly spun strand rather than anything fuzzy or textured — mohair or bouclé yarns look pretty on a scarf but make stitch definition nearly impossible to see, which matters when you’re counting stitches as a beginner. If you’re shopping in person, ask for “amigurumi-friendly” or “worsted weight cotton” and a shop assistant will usually point you in the right direction.
Acceptable substitutions: if you only have acrylic yarn, that’s fine — just go down half a hook size (e.g., 3.25mm) to keep your stitches tight enough that stuffing doesn’t show through.
Materials & Prep
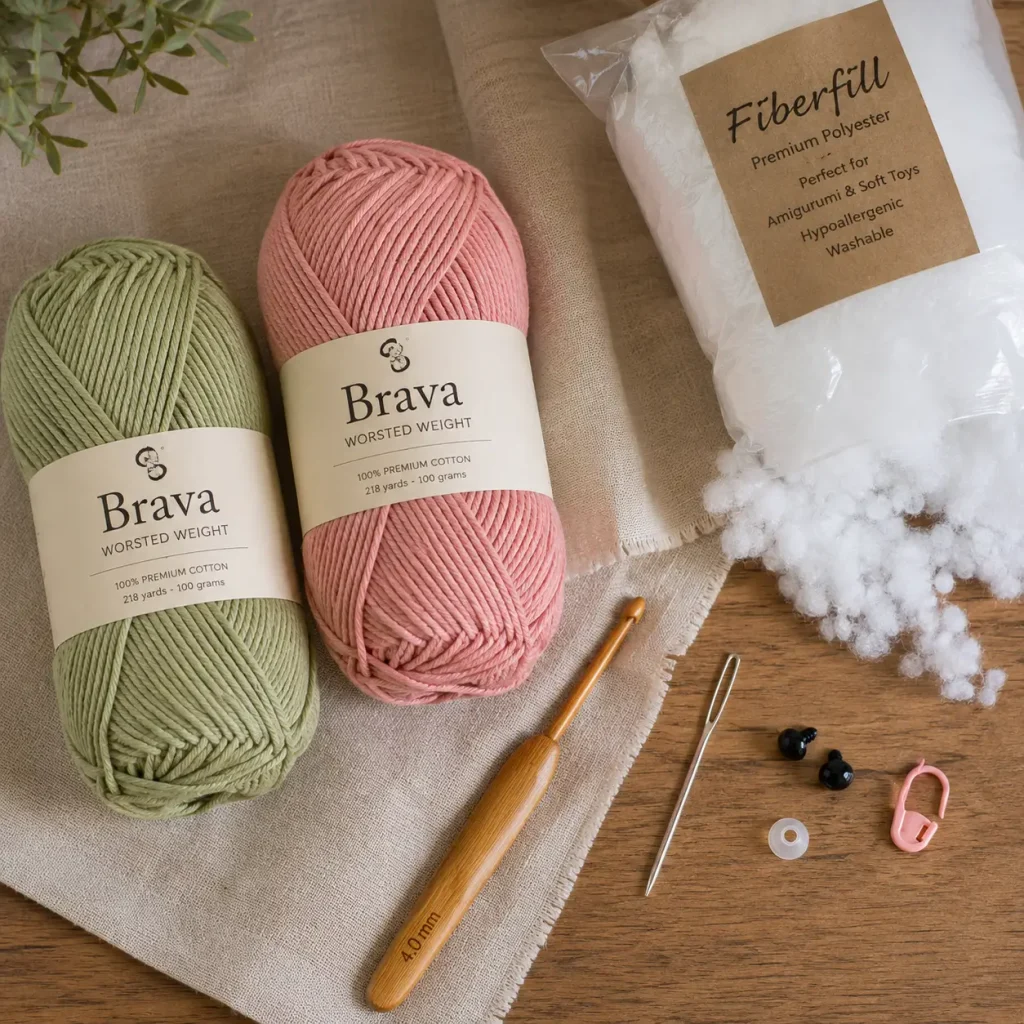
Main materials:
- Worsted weight cotton or cotton-blend yarn — green for the body, a contrasting color (pink, yellow, or blue) for the shell (~1 skein each, small amounts needed)
- 3.5mm crochet hook
- Fiberfill stuffing
- 2 safety eyes, 8-10mm (or embroidery floss for beginners uncomfortable with safety eye tools)
- Tapestry needle
- Stitch marker
- Scissors
Prep essentials:
- Before starting, crochet a small swatch to confirm your tension — amigurumi doesn’t require exact gauge, but stitches that are too loose will let stuffing show through.
- Familiarize yourself with these abbreviations: sc (single crochet), inc (increase — 2 sc in one stitch), dec (invisible decrease), st(s) (stitch/stitches), MR (magic ring).
- Keep your stitch marker on the first stitch of every round — since amigurumi is worked in a spiral without joining, it’s easy to lose track of where a round starts.
Step-by-Step Instructions
Step 1: Make the Body
- Start with a magic ring, chain 1 (does not count as a stitch), and work 6 sc into the ring. Pull the ring closed. (6 sts)
- Round 2: inc in every stitch around. (12 sts)
- Round 3: sc 1, inc repeat around. (18 sts)
- Round 4: sc 2, inc repeat around. (24 sts)
- Round 5: sc 3, inc repeat around. (30 sts)
- Rounds 6-10: sc around with no increases (30 sts each round). This builds the height of the body.
Pro tip: mark the start of round 1 with your stitch marker and move it up each round — this is the single habit that will save you the most frustration as a beginner.
- Round 11: sc 3, dec repeat around. (24 sts)
- Round 12: sc 2, dec repeat around. (18 sts)
- Begin stuffing the body firmly but not overly tight — you want it to hold shape without stretching the stitches.
- Round 13: sc 1, dec repeat around. (12 sts)
- Round 14: dec around. (6 sts)
- Finish stuffing, then fasten off, leaving a long tail for closing the opening.
Pro tip: add stuffing in small handfuls as you go rather than waiting until the very end — this keeps the shape rounded instead of lopsided.
Step 2: Make the Shell (Worked Flat)
- Chain 2. Work 6 sc into the second chain from the hook. Do not join — turn and work in rows.
- Row 2: inc in every stitch. (12 sts) Chain 1, turn.
- Row 3: sc 1, inc repeat. (18 sts) Chain 1, turn.
- Row 4: sc 2, inc repeat. (24 sts) Chain 1, turn.
- Row 5: sc around with no increases. (24 sts) Fasten off, leaving a long tail.
Pro tip: block the shell gently (lightly steam or dampen and shape it flat) before attaching — this keeps it from curling up at the edges once sewn on.
Step 3: Make the Head
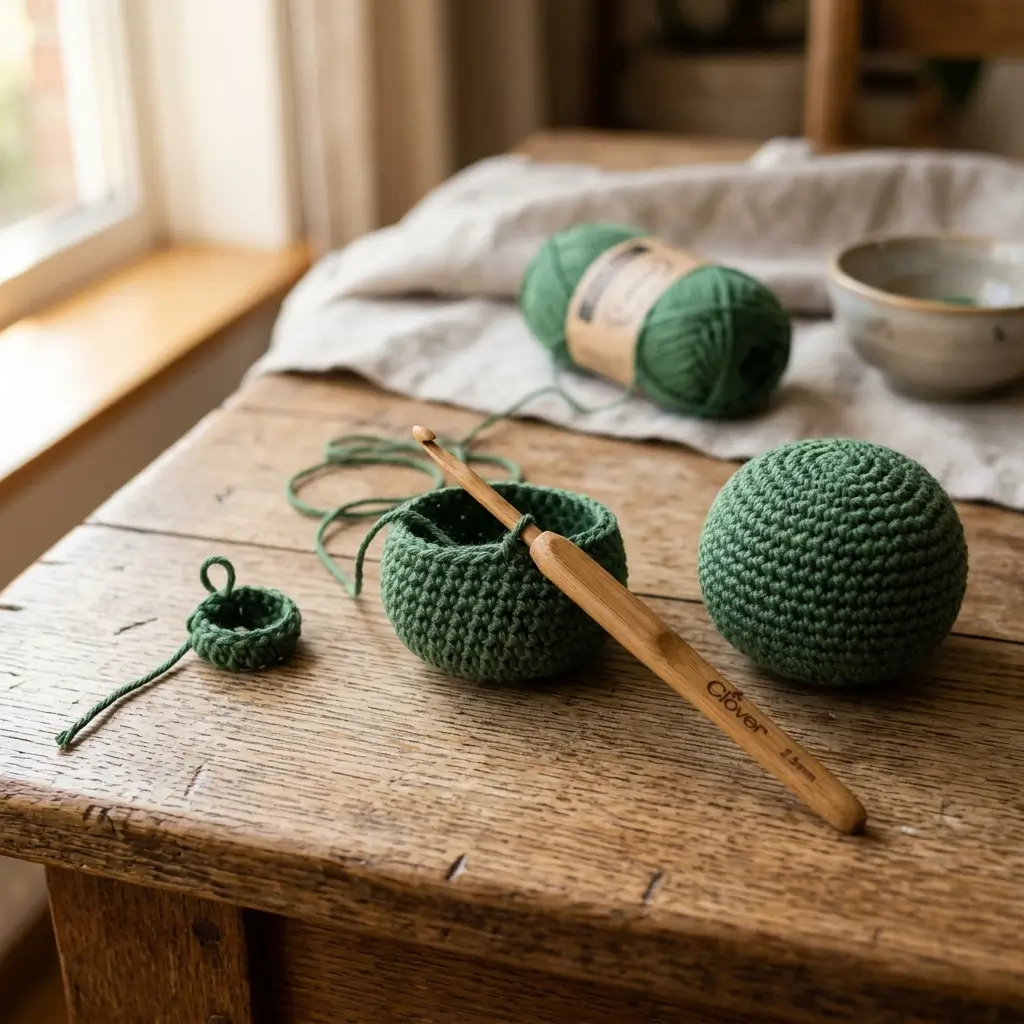
- Magic ring, 6 sc into the ring. (6 sts)
- Round 2: inc around. (12 sts)
- Round 3: sc around, no increases. (12 sts)
- Round 4: sc around, no increases. (12 sts)
- Round 5: sc 1, dec repeat around. (8 sts)
- Attach safety eyes between rounds 3 and 4, spaced about 4 stitches apart.
- Stuff firmly.
- Round 6: dec around. (4 sts) Fasten off, leaving a long tail for sewing.
Doneness check: hold the head up to the body before sewing — if it looks proportionally too large or small, add or remove one round before attaching. This is much easier to fix now than after sewing.
Step 4: Make the Legs and Tail (Make 4 legs, 1 tail)
Legs (make 4):
- Magic ring, 5 sc into the ring. (5 sts)
- Rounds 2-4: sc around, no increases. (5 sts each round)
- Stuff lightly, fasten off leaving a tail for sewing.
Tail (make 1):
- Magic ring, 4 sc into the ring. (4 sts)
- Rounds 2-2: sc around, no increases. (4 sts)
- Fasten off, leaving a tail for sewing — no stuffing needed for the tail.
Step 5: Assembly
- Position the shell over the body, centering it so equal fabric shows on all sides, and pin in place using stitch markers or safety pins.
- Using the tapestry needle and the shell’s tail, whipstitch around the entire edge, sewing through both the shell edge and the body.
- Sew the head onto the front of the body, just below where the shell overhangs.
- Sew all four legs evenly around the base of the body — two front, two back — checking that the turtle can sit flat before finishing each stitch.
- Sew the tail to the back, just below the shell’s edge.
- Weave in all remaining yarn tails using the tapestry needle.
Resting step: let the finished turtle sit for about 30 minutes before handling it much — this gives the stuffing time to settle evenly and makes any small shape adjustments easier to spot.
Pro Tips
- Use a slightly smaller hook than the yarn label suggests. Amigurumi wants tight, dense stitches so stuffing doesn’t peek through — going down half a size from the recommended hook is a simple fix.
- Count your stitches at the end of every round for the first few projects. It only adds a minute, and it prevents having to unravel several rounds later when a miscount finally becomes obvious.
- Invest in a locking stitch marker, not a scrap of yarn. A proper stitch marker won’t slip out mid-round the way a loose loop of contrasting yarn often does.
- Stuff in layers, checking shape as you go. Squeezing all the stuffing in at the very end almost always creates lumps that are hard to smooth out afterward.
- Sew with the same yarn color as the piece you’re attaching, not the piece you’re attaching it to — this hides small stitching irregularities much better.
Storage & Care
Store your finished turtle away from direct sunlight to prevent the yarn colors from fading over time, ideally in a fabric bag or drawer rather than a sealed plastic bag, which can trap moisture. If it needs cleaning, spot-clean with a damp cloth and mild soap rather than machine washing — the agitation of a washing machine can shift the stuffing and distort the shape. If a deeper clean is unavoidable, hand wash gently in cool water, reshape while damp, and lay flat to air dry.
Pattern Variations
- Two-tone shell: Instead of one solid color, alternate rows in two contrasting colors for a striped shell effect — simply switch yarn color at the start of each new row.
- Jumbo size: Double the starting stitch count in each section (start with 12 in the magic ring instead of 6) and use a bulkier yarn with a 5.0-6.0mm hook for a large decorative version, similar to the “jumbo” option many Etsy pattern sellers offer alongside the regular size.
- Patterned shell: Add simple surface crochet lines or French knots across the shell after assembly for a textured, patterned look without changing the base pattern.
Gift & Styling Suggestions
- A finished turtle makes a gentle, huggable gift for a baby shower — the small size and soft stuffing make it appropriate for little hands.
- Pair it with a handwritten note as a “slow and steady” graduation or new-job gift.
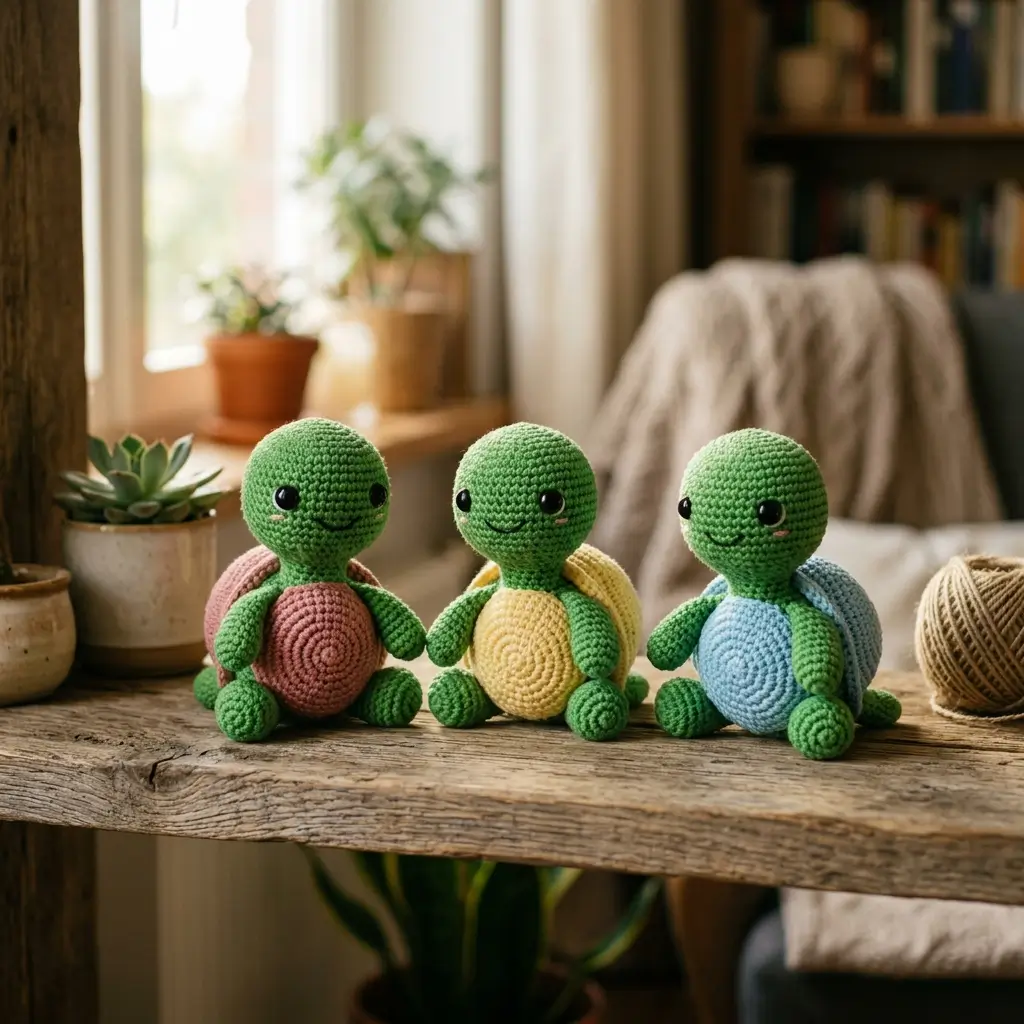
- Group a few in different colors as a desk shelf display for anyone who collects small handmade figures.
- Attach a small keyring loop instead of the tail stitch for a bag charm version of the same pattern.
FAQ
How long does a crochet turtle amigurumi pattern take to finish?
Most beginners complete this project in 2-3 hours total, though it’s easy to split across two sessions — for example, body and shell one day, head and legs the next.
What yarn weight works best for amigurumi turtles?
Worsted weight (size 4) cotton or cotton-blend yarn is ideal for beginners because it holds stitch definition well and is forgiving of minor tension inconsistencies.
Why does my amigurumi look lumpy even after stuffing?
Lumpiness usually comes from stuffing too much at once at the end rather than adding small amounts gradually as you crochet each section — try adding stuffing every few rounds instead.
Can I use safety eyes if I’m a beginner?
Yes, though they can feel intimidating at first. Attach them before you finish stuffing the head, while you can still reach inside to secure the backing washer, and test the position by holding the pieces together before locking them in place.
Do I need to know how to invisible decrease?
It helps, but a regular decrease (crochet two stitches together) works fine for a first project — the invisible decrease simply creates a slightly neater finish and isn’t essential to complete the pattern.
Conclusion
This crochet turtle amigurumi pattern proves that a beginner-friendly project doesn’t have to feel intimidating — five manageable steps take you from a ball of yarn to a finished, huggable plushie. If you’d like a ready-made version with detailed photos and two finished sizes to choose from, the Crochet Turtle Pattern (Regular and Jumbo) on Etsy is a popular bestseller worth checking out for inspiration. Whichever version you make, this little turtle is a satisfying first step into the world of amigurumi.