Crochet Bookmark Pattern: 5 Easy Steps in 30 Minutes
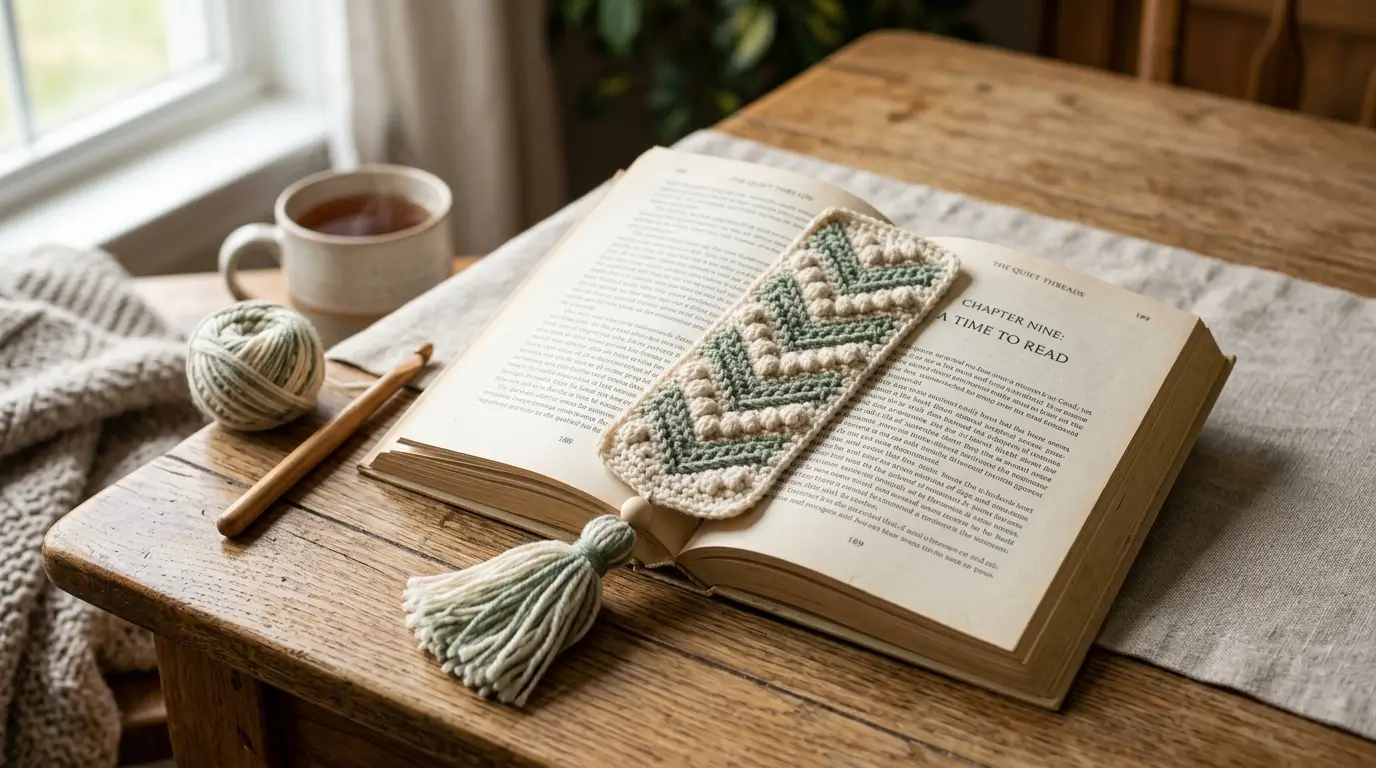
A crochet bookmark pattern is one of the fastest ways to turn a small amount of leftover yarn into something genuinely useful, and this guide breaks the whole project into five clear stages so you can finish it in a single sitting. Bookmarks are a favorite quick project because they use minimal yarn, work up in straight rows with no tricky shaping, and forgive small tension inconsistencies far better than a garment or amigurumi would.
This version is written with extra explanation at every stage, so even if you’ve never finished a crochet project from start to end before, you’ll understand not just what to do but why each step matters. It’s a great fit for beginners, gift-makers, or anyone looking for a satisfying evening project that doesn’t eat up a whole skein of yarn. Below, you’ll find everything this crochet bookmark pattern needs, from picking the right yarn to finishing touches that make your bookmark look polished rather than uneven.
Table of Contents
Project Overview
- Time to complete: 30-45 minutes
- Finished size: Approximately 6-7 inches long, 1.5 inches wide (before tassel)
- Skill level: Beginner
- Hook size: 3.5mm (E/4)
This timeline is realistic for a first attempt — most beginners finish comfortably in one sitting, and the small scale means even a slower first try rarely takes longer than an hour.
Why This Crochet Bookmark Pattern Works
Several small design choices make this crochet bookmark pattern reliable even for a first attempt:
- Straight rows mean no shaping to track. Unlike amigurumi, a bookmark is worked flat in straight rows, so there are no increases or decreases to count.
- A simple stitch pattern creates texture without complexity. Alternating single and double crochet stitches gives the bookmark visual interest without requiring advanced techniques.
- Small scale forgives tension mistakes. Because the piece is narrow and short, minor tension inconsistencies are far less noticeable than they would be on a larger project.
- The tassel hides the working end. Rather than needing a perfectly invisible fasten-off, the tassel doubles as both decoration and a way to neatly finish the working yarn.
- It’s a perfect stash-buster. This project uses such a small amount of yarn that it’s an ideal way to use up leftover scraps from bigger projects.
Choosing the Right Yarn & Hook
Picking the right materials is the first real decision in this crochet bookmark pattern. For a first bookmark, a DK or worsted weight (size 3-4) cotton or cotton-blend yarn works best. Cotton has enough body to hold the bookmark’s shape and slide between book pages without snagging, while still being soft enough to feel pleasant to the touch. A 3.5mm hook paired with this yarn weight produces a fabric that’s dense enough to stay flat but still drapes slightly, which is exactly what a bookmark needs.
When buying yarn, avoid anything too fuzzy or textured (like mohair or chenille) since it can catch on book pages and make the bookmark harder to slide in and out. If you’re shopping in person, cotton yarn labeled for dishcloths or amigurumi tends to have the right weight and durability for this project.
Acceptable substitutions: acrylic yarn works fine if that’s what you have on hand — it won’t affect the finished look much, though cotton tends to hold its shape slightly better over repeated use.
Materials & Prep
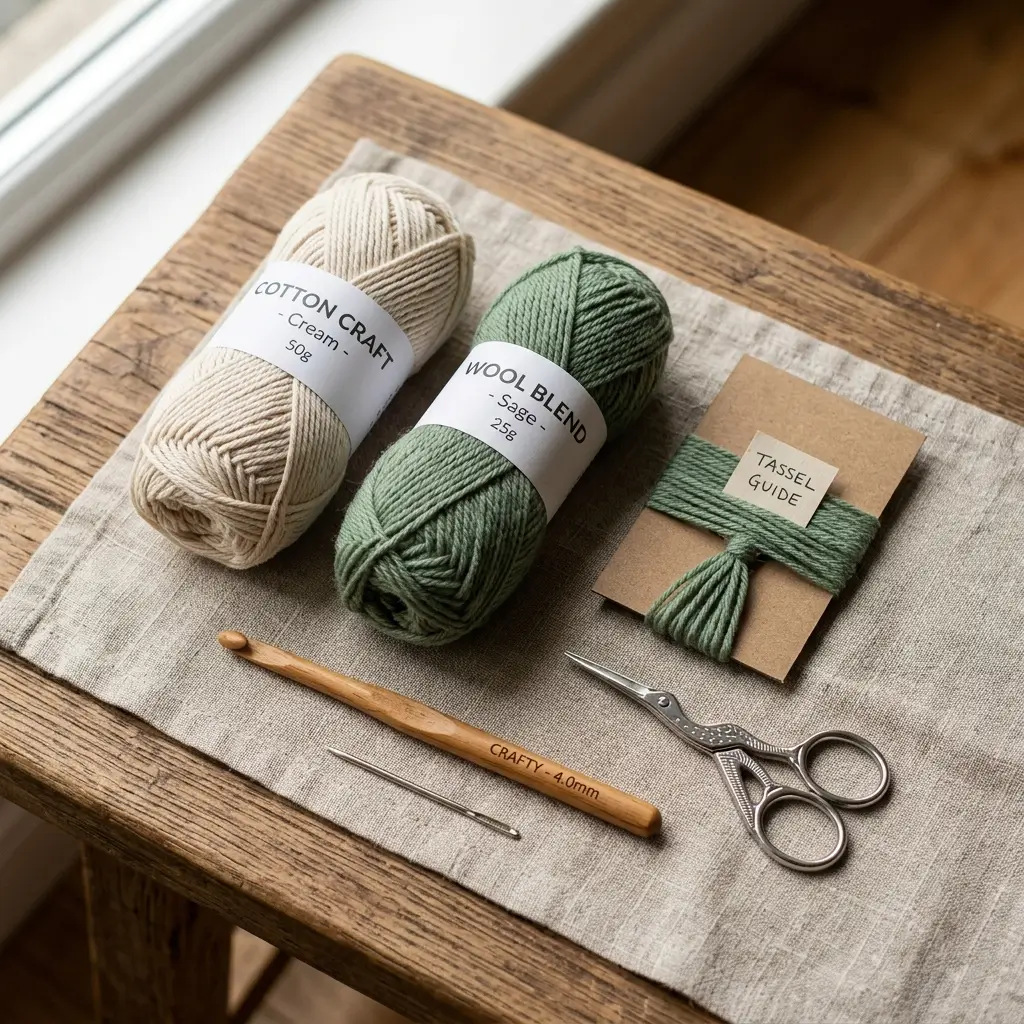
This crochet bookmark pattern uses minimal materials, making it an easy first purchase for new crocheters.
Main materials:
- DK or worsted weight cotton yarn in your main color (~10-15 grams, a small scrap is enough)
- A contrasting color for the tassel, optional (~5 grams)
- 3.5mm crochet hook
- Tapestry needle
- Scissors
- A small piece of cardboard or a book (for wrapping the tassel)
Prep essentials:
- Before starting, do a quick test swatch of a few stitches to check your tension — bookmarks don’t need exact gauge, but overly loose stitches will make the piece flimsy.
- Familiarize yourself with these abbreviations: ch (chain), sc (single crochet), dc (double crochet), st(s) (stitch/stitches), sk (skip).
- Keep your working yarn tail long at the start (about 6 inches) so you have enough to weave in or incorporate into the tassel later.
Step-by-Step Instructions
Follow this crochet bookmark pattern step by step, and don’t rush past the small details — they’re what separate a tidy finished piece from an uneven one.
Step 1: Foundation Chain
Every crochet bookmark pattern starts with getting the foundation right, so take your time here.
- Chain 10. This will form the base width of your bookmark.
- Turn your chain over and check that all 10 chains are even and not twisted — a twisted foundation chain will make your first row uneven.
Pro tip: count your chains twice before moving to Row 1 — an incorrect chain count is the single most common beginner mistake and is much easier to fix now than after several rows.
Step 2: Row 1 (Foundation Row)
- Starting in the second chain from the hook, sc in each chain across. (9 sts)
- Chain 1, turn.
Pro tip: the “chain 1, turn” at the end of each row doesn’t count as a stitch in this pattern — it’s simply there to bring your hook up to the correct height for the next row.
Step 3: Rows 2-15 (Textured Pattern)
- Row 2: sc 1, dc 1 repeat across, ending with sc 1. (9 sts) Chain 1, turn.
- Row 3: dc 1, sc 1 repeat across, ending with dc 1. (9 sts) Chain 1, turn.
- Repeat Rows 2 and 3 alternately until your piece measures approximately 6-7 inches long (roughly 12-14 rows total, depending on your tension).
Pro tip: measure your bookmark against an actual book every few rows rather than relying on a ruler alone — this ensures the finished length is genuinely practical, not just numerically correct.
Pro tip: alternating which stitch starts each row (sc first, then dc first) is what creates the subtle woven-looking texture — don’t skip this alternation even though it’s tempting to just repeat the same row.
Step 4: Finishing the Body
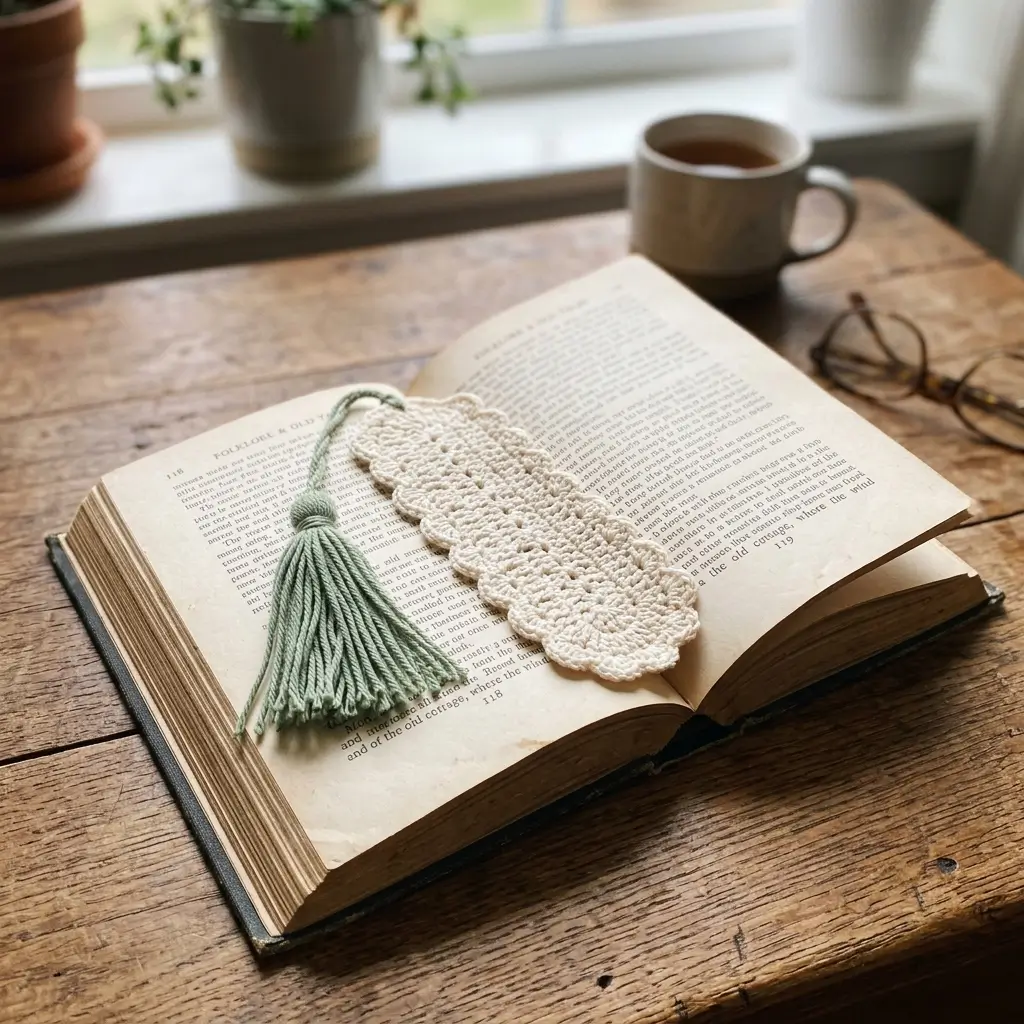
- Once your bookmark reaches the desired length, fasten off, leaving a long tail (at least 8 inches) for attaching the tassel.
- Weave in the starting tail from Row 1 using your tapestry needle, but leave the ending tail unwoven — you’ll use it in Step 5.
Doneness check: hold the bookmark up against a closed book before finishing — if it looks too short to peek out from the top and bottom, add one or two more rows before fastening off.
Step 5: Making and Attaching the Tassel
- Wrap your contrasting yarn around a 3-inch piece of cardboard (or a small book) about 20-25 times for a full tassel.
- Carefully slide the wrapped loops off the cardboard, keeping them together.
- Cut a separate 6-inch piece of yarn and tie it tightly around the top of the loops, about half an inch from the folded end — this becomes the point where the tassel attaches to the bookmark.
- Cut through the bottom loops of the tassel to release the individual strands.
- Using the long tail left from Step 4, thread it through the top of the tassel (where you tied it) and secure it to the bottom edge of the bookmark with a few small stitches.
- Trim the tassel ends evenly with your scissors for a neat, uniform finish.
Resting step: once attached, gently comb through the tassel strands with your fingers and give it a light steam or dampen-and-shape treatment — this helps the strands fall neatly rather than curling in different directions.
Pro Tips
These tips will help this crochet bookmark pattern turn out neat and professional-looking on your first try:
- Keep your tension consistent across the whole project, since even small variations are more visible on a narrow strip than on a larger piece — try to crochet in one sitting if possible to avoid tension shifts between sessions.
- Use a slightly firmer tension than you might for a scarf. A bookmark benefits from being sturdy enough to hold its shape when slid between pages, unlike a soft, drapey project.
- Trim tassel ends after attaching, not before. Cutting the tassel to length after it’s secured to the bookmark gives a much more even, professional finish than trimming loose strands beforehand.
- Count your stitches at the end of every few rows. Since this pattern relies on stitch alternation, losing count early can throw off the texture pattern for the rest of the project.
- Save your scraps. Because this project uses so little yarn, it’s the perfect place to use up small leftover amounts from bigger projects like the crochet turtle amigurumi pattern.
Storage & Care
One of the advantages of this crochet bookmark pattern is how little upkeep the finished piece needs. Store finished bookmarks flat rather than folded to help them keep their shape over time, ideally in a drawer or a flat box away from direct sunlight to prevent fading. If it needs cleaning, spot-clean with a damp cloth rather than soaking it, since repeated wetting can cause the tassel strands on this crochet bookmark pattern to tangle. If a deeper clean is needed, hand wash gently in cool water, reshape while damp, and lay flat to dry.
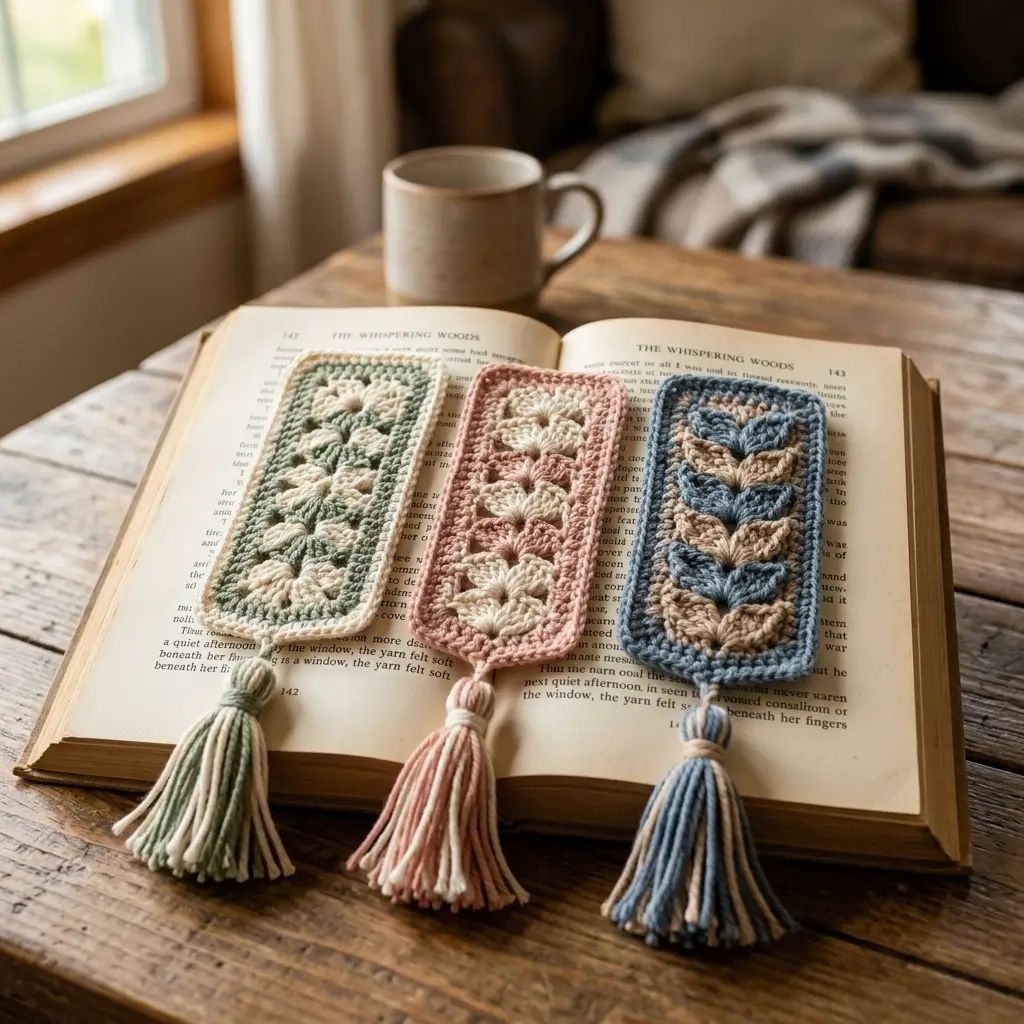
Pattern Variations
This crochet bookmark pattern adapts easily to a few simple variations:
- Two-tone body: Switch main colors every few rows instead of using a single color, creating a striped effect that pairs nicely with a contrasting tassel.
- Longer or wider bookmark: Add 2-4 extra foundation chains for a wider bookmark, or continue the row pattern longer for use in oversized books or planners.
- No-tassel version: Skip the tassel entirely and finish with a simple fringe (a few strands folded and knotted through the bottom edge) for a quicker, more minimalist look.
Gift & Styling Suggestions
A finished piece from this crochet bookmark pattern makes a versatile gift. Here are a few ideas:
- Pair a finished bookmark with a favorite book for a simple, thoughtful gift for a reader in your life.
- Make a small set in coordinating colors as a teacher or book club hostess gift.
- Attach a tiny charm or bead to the tassel for a more decorative, personalized touch.
- Bundle a few together with a ribbon as stocking stuffers or small holiday gifts.
FAQ
How long does a crochet bookmark pattern take to finish?
Most beginners complete this project in 30-45 minutes, making it one of the fastest crochet projects to finish in a single sitting.
What yarn weight works best for this crochet bookmark pattern?
DK or worsted weight (size 3-4) cotton or cotton-blend yarn is ideal, since it holds shape well and slides smoothly between book pages without snagging.
Why does my bookmark curl at the edges?
Curling usually comes from working with tension that’s too tight on one side — try lightly steaming or dampening the finished piece and laying it flat to reshape it.
Can I make the tassel without cardboard?
Yes — wrapping the yarn around your fingers, a small book, or even a thick marker works just as well as cardboard for creating tassel loops.
Do I need to know double crochet before starting?
It helps to know the basic double crochet stitch, but if you’re brand new, practicing a few rows of single crochet only (skipping the alternating pattern) still produces a perfectly usable bookmark while you build confidence.
Is this crochet bookmark pattern suitable for absolute beginners?
Yes — this is one of the most beginner-friendly patterns to start with, since it only uses two basic stitches and requires no shaping or counting increases.
Conclusion
This crochet bookmark pattern proves that a beginner-friendly project doesn’t need to take hours — and once you’ve tried one crochet bookmark pattern, you’ll likely want to make several as gifts. If you’re looking for a slightly longer weekend project once you’ve mastered this one, the crochet turtle amigurumi pattern is a great next step that builds on many of the same basic stitches. If you’d like a ready-made version with detailed photos and a tassel variation, the Textured Bookmark Pattern with Tassel on Etsy is a popular bestseller worth checking out for inspiration. Whichever project you choose next, this little bookmark is a satisfying, practical addition to any crocheter’s toolkit.