Crochet Bunny: 5 Easy Steps for an Adorable Amigurumi
A crochet bunny is one of the most charming amigurumi projects you can make, and this guide breaks it down into five clear stages so you can go from a ball of yarn to a finished, floppy-eared friend without feeling overwhelmed. Bunnies are a favorite amigurumi subject because their long ears and round body give you plenty of personality to work with, while the overall construction stays simple enough for a confident beginner to manage.
This crochet bunny pattern is written with extra explanation at every stage, especially around ear shaping and face placement, since those details are what give a bunny its expressive, recognizable look rather than just a generic round animal. It’s a great fit for beginners, gift-makers, or anyone looking for a satisfying weekend project with real personality. Below, you’ll find everything from picking the right yarn to the finishing techniques that give your bunny its signature charm.
Table of Contents
Project Overview
- Time to complete: 1.5-2 hours
- Finished size: Approximately 6-7 inches (15-18 cm)
- Skill level: Beginner
- Hook size: 3.5mm (E/4)
This timeline is realistic for a first attempt at this crochet bunny — most beginners finish comfortably in one sitting, and the low-sew construction (only the ears and tail need attaching) keeps the finishing stage quick.
Why This Crochet Bunny Pattern Works
Several specific choices make this crochet bunny reliable, even on your first amigurumi attempt:
- Spiral construction hides seams. Working in a continuous spiral rather than joined rounds means there are no visible seam lines running down the body or head.
- The ears are worked flat, then folded. Rather than trying to shape long ears in the round, working them as flat, slightly tapered pieces and folding them at the base gives a much more natural, floppy look.
- A low-sew design minimizes finishing work. Only the ears and tail require sewing, which means fewer opportunities for asymmetry compared to a project with many separate pieces.
- A consistent stitch count keeps proportions balanced. Once the head and body reach their target size, working even rounds keeps the shape from drifting.
- Gradual stuffing keeps the shape smooth. Adding stuffing in small amounts as you go, rather than all at once, prevents lumps and keeps the bunny’s round shape even.
Choosing the Right Yarn & Hook
For this crochet bunny, a worsted weight (size 4) cotton or plush-style amigurumi yarn works best. A slightly plush or velvet-style yarn gives the finished bunny an extra-soft, huggable feel, though a firmer cotton yarn is easier for beginners to see stitch definition in while learning. A 3.5mm hook paired with worsted weight yarn produces the tight, dense fabric amigurumi needs to hold stuffing without gaps showing through.
When buying yarn, a soft neutral color (white, cream, gray, or pale pink) reads as classically “bunny,” though this pattern works in any color you like. If you’re shopping in person, ask for “amigurumi-friendly” worsted weight yarn, and consider a plush or velvet variety if you want that extra-cuddly finish.
Acceptable substitutions: standard cotton-acrylic blend works perfectly well if plush yarn isn’t available, and produces a slightly firmer, easier-to-shape finished bunny.
Materials & Prep
This crochet bunny uses simple, budget-friendly materials that are easy to find at any craft store.
Main materials:
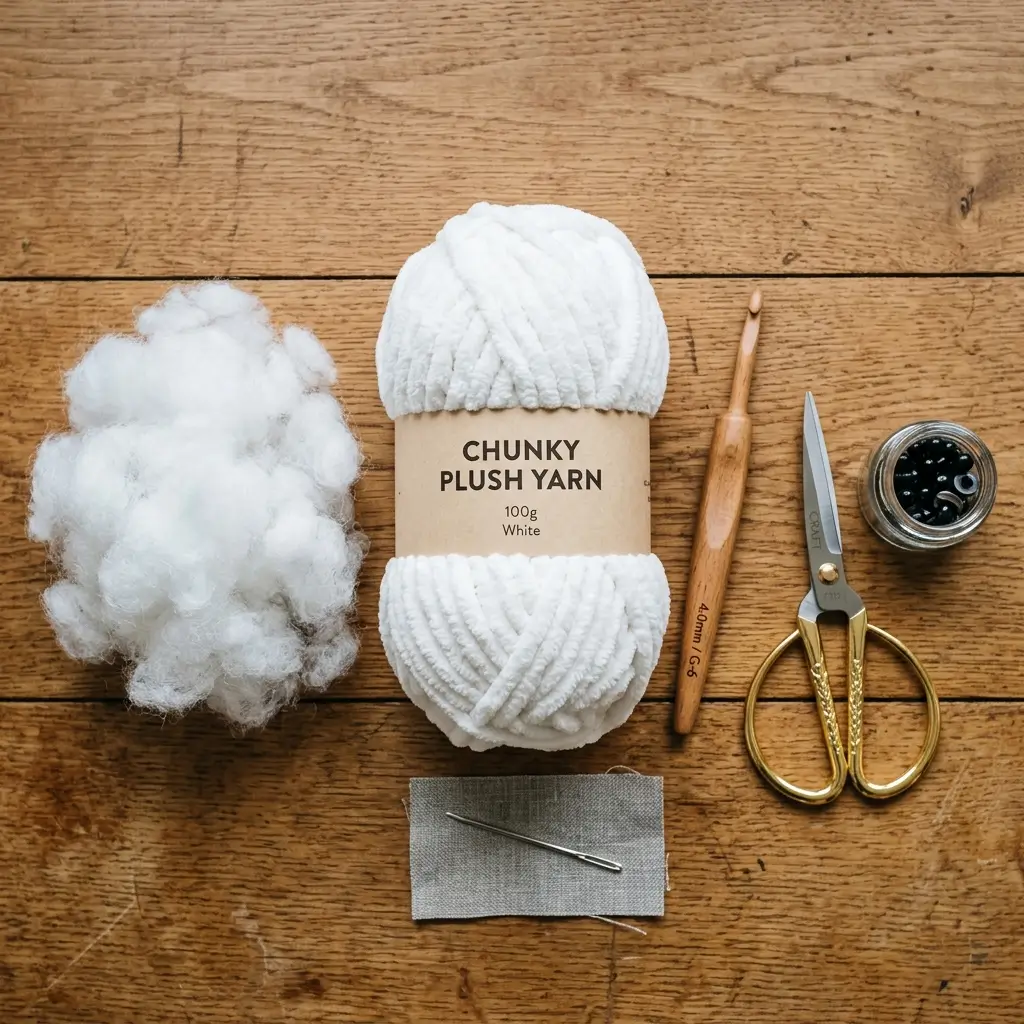
- Worsted weight yarn in your main color (~40-50 grams)
- A small amount of contrasting yarn or embroidery floss for the nose (optional)
- 3.5mm crochet hook
- Fiberfill stuffing
- 2 safety eyes, 8-10mm (or embroidery floss for a beginner-friendly alternative)
- Tapestry needle
- Stitch marker
- Scissors
Prep essentials:
- Before starting, crochet a small swatch to confirm your tension — amigurumi doesn’t need exact gauge, but overly loose stitches will let stuffing show through.
- Familiarize yourself with these abbreviations: sc (single crochet), inc (increase), dec (invisible decrease), st(s) (stitch/stitches), MR (magic ring).
- Keep your stitch marker on the first stitch of every round — since this pattern is worked in a spiral, it’s easy to lose track of where a round starts, especially through the ear and body transitions.
Step-by-Step Instructions
Step 1: The Body
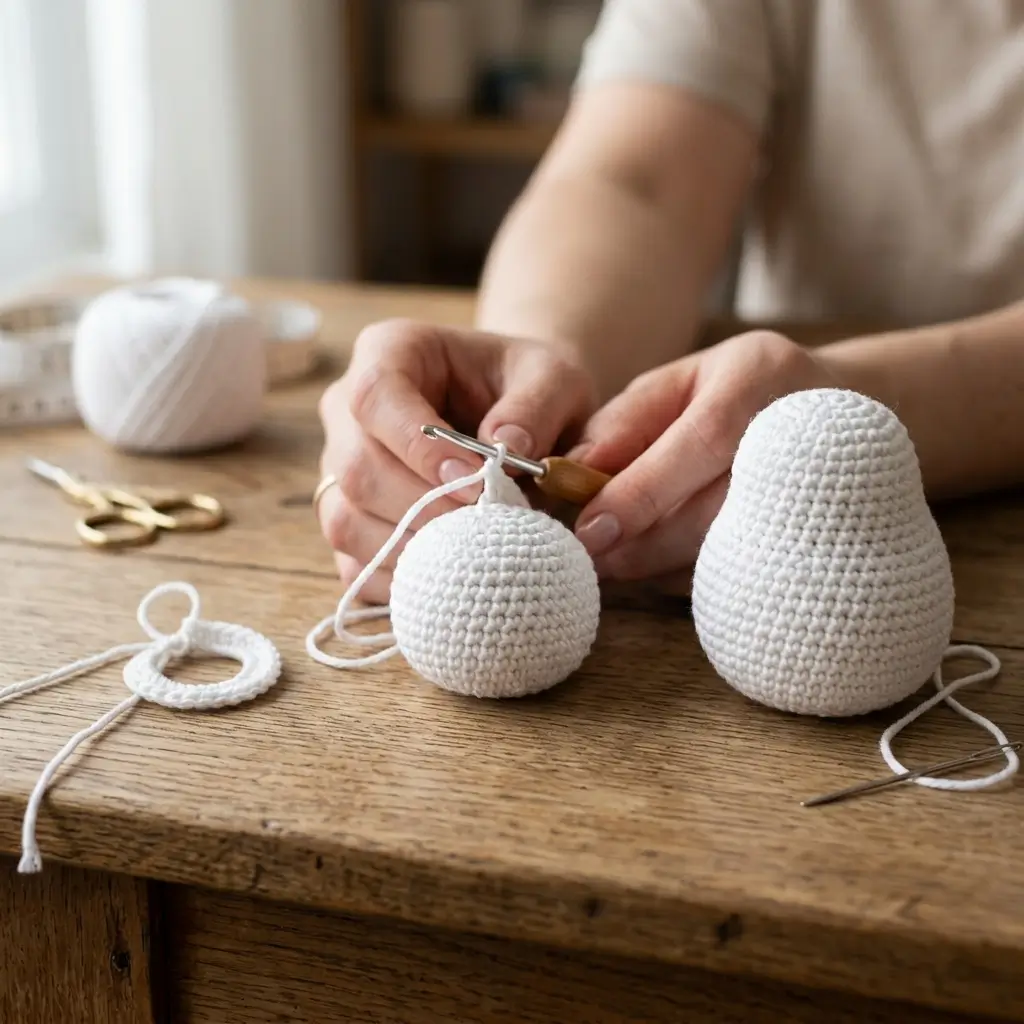
- Magic ring, chain 1, and work 6 sc into the ring. (6 sts)
- Round 2: inc in every stitch around. (12 sts)
- Round 3: sc 1, inc repeat around. (18 sts)
- Round 4: sc 2, inc repeat around. (24 sts)
- Round 5: sc 3, inc repeat around. (30 sts)
- Rounds 6-12: sc around with no increases (30 sts each round).
Pro tip: mark the start of round 1 with your stitch marker and move it up each round — this single habit prevents the most common beginner frustration with spiral amigurumi.
- Round 13: sc 3, dec repeat around. (24 sts)
- Begin stuffing the body firmly but not overly tight.
- Round 14: sc 2, dec repeat around. (18 sts)
- Round 15: dec around. (9 sts)
- Finish stuffing, fasten off, leaving a tail for attaching the head.
Step 2: The Head
- Magic ring, 6 sc into the ring. (6 sts)
- Round 2: inc around. (12 sts)
- Round 3: sc 1, inc repeat around. (18 sts)
- Round 4: sc 2, inc repeat around. (24 sts)
- Rounds 5-9: sc around, no increases. (24 sts each round)
- Attach safety eyes between rounds 5 and 6, spaced about 5-6 stitches apart.
Secret Trick #1: hold the eyes in place with your fingers first and check the spacing from multiple angles before securing the backing washer — even spacing here is what makes the finished face look symmetrical.
- Round 10: sc 2, dec repeat around. (18 sts)
- Stuff the head firmly.
- Round 11: sc 1, dec repeat around. (12 sts)
- Round 12: dec around. (6 sts) Fasten off, leaving a long tail for sewing to the body.
Step 3: The Ears (Make 2)
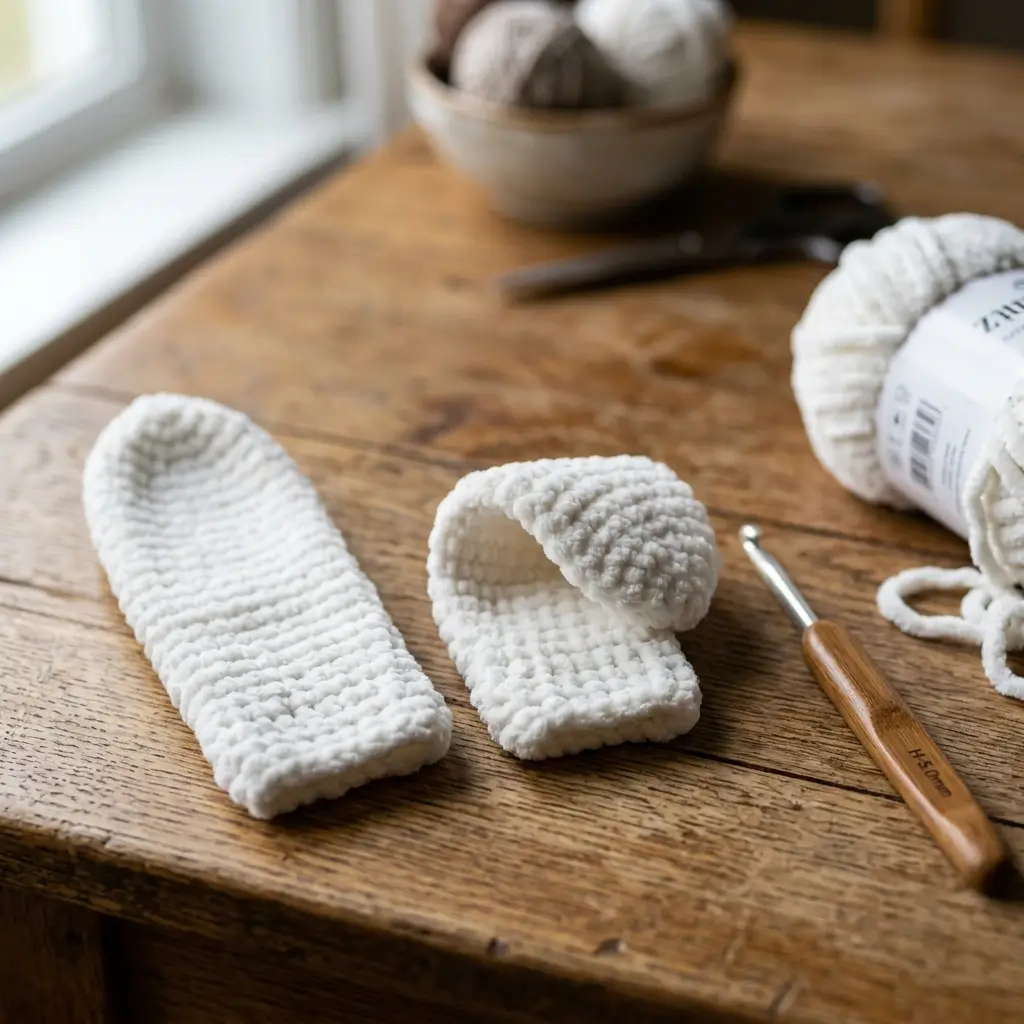
- Chain 8. Work 1 sc into the second chain from the hook, then sc across. (7 sts) Chain 1, turn.
- Row 2: sc across. (7 sts) Chain 1, turn.
- Repeat Row 2 for 8-10 total rows, until the ear reaches roughly 3-3.5 inches long.
- Fasten off, leaving a long tail for sewing.
Secret Trick #2: fold the bottom inch of each finished ear in half lengthwise before sewing it on — this small pinch at the base is what creates the natural, slightly floppy curve real bunny ears have, instead of a flat, stiff ear standing straight up.
Step 4: The Tail and Optional Arms
Tail (make 1):
- Magic ring, 6 sc into the ring. (6 sts)
- Round 2: sc around, no increase. (6 sts)
- Stuff lightly, fasten off leaving a tail for sewing.
Arms (make 2, optional):
- Magic ring, 5 sc into the ring. (5 sts)
- Rounds 2-5: sc around, no increases. (5 sts each round)
- Stuff lightly, fasten off leaving a tail for sewing.
Step 5: Assembly
- Sew the head onto the top of the body, centering it so the bunny sits upright.
- Sew the folded ears onto the top of the head, spaced about 2-3 stitches apart, angled slightly outward for a natural look.
- Sew the tail onto the back of the body, just below where the head meets the body.
- If using arms, sew them onto the upper sides of the body.
- Embroider a small nose using a few straight stitches in a contrasting color, or attach a small nose piece if you prefer.
- Weave in all remaining yarn tails using the tapestry needle.
Doneness check: sit the finished bunny upright on a flat surface before considering it done — if it tips over easily, check that the body’s base is stuffed firmly and evenly.
Resting step: let the finished bunny sit for about 30 minutes before handling it much, giving the stuffing time to settle evenly throughout the body and head.
Pro Tips
- Fold the ears before sewing, not after. Trying to shape the fold once an ear is already attached is much harder than pre-folding and pinning it in place first.
- Use a slightly smaller hook than the yarn label suggests. Tighter stitches keep stuffing from showing through, especially on the thinner ear pieces.
- Count stitches after every increase or decrease round. Amigurumi shaping compounds quickly, so catching a miscount immediately saves you from unraveling several rounds later.
- Stuff in layers, not all at once. Adding stuffing gradually as you complete each section keeps the bunny’s shape smooth and round rather than lumpy.
- Save leftover yarn for smaller projects. Any yarn left over from this crochet bunny works well for a matching crochet flower pattern or a simple crochet bookmark pattern in coordinating colors.
Storage & Care
Store your finished bunny away from direct sunlight to prevent the yarn color from fading, ideally in a fabric bag or on an open shelf rather than a sealed plastic bag. If it needs cleaning, spot-clean with a damp cloth and mild soap rather than machine washing, since a washing machine’s agitation can shift the internal stuffing and distort the shape. If a deeper clean is unavoidable, hand wash gently in cool water, reshape while damp, and lay flat to air dry.
Pattern Variations
- Sitting vs. standing pose: Adjust the leg or base stuffing firmness slightly to create either a seated bunny or one that stands more upright.
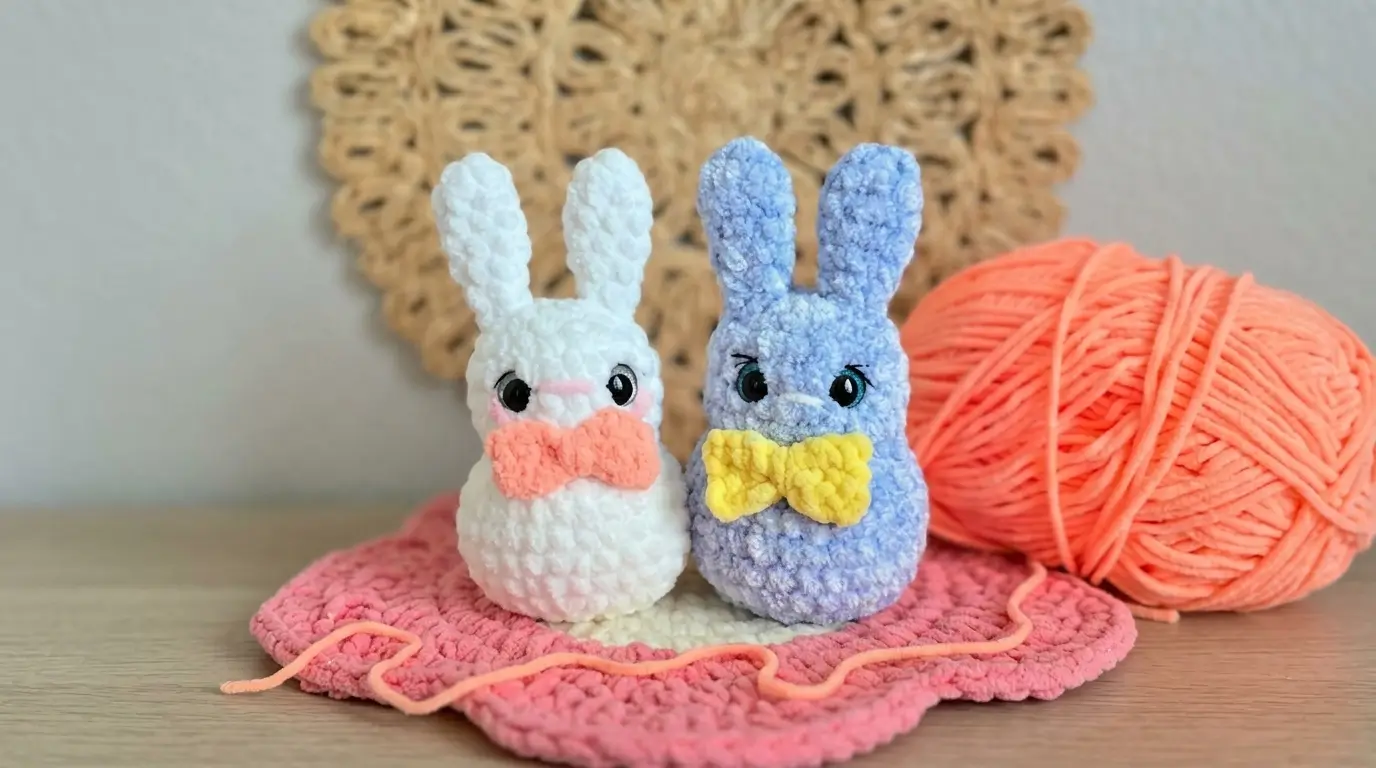
- Dressed bunny: Add a small crocheted bow, scarf, or simple outfit piece for extra personality, a popular variation among many Etsy bunny patterns.
- Baby bunny size: Reduce every round count by roughly one-third and use a smaller hook (3.0mm) for a miniature keychain-sized version of the same pattern.
Gift & Styling Suggestions
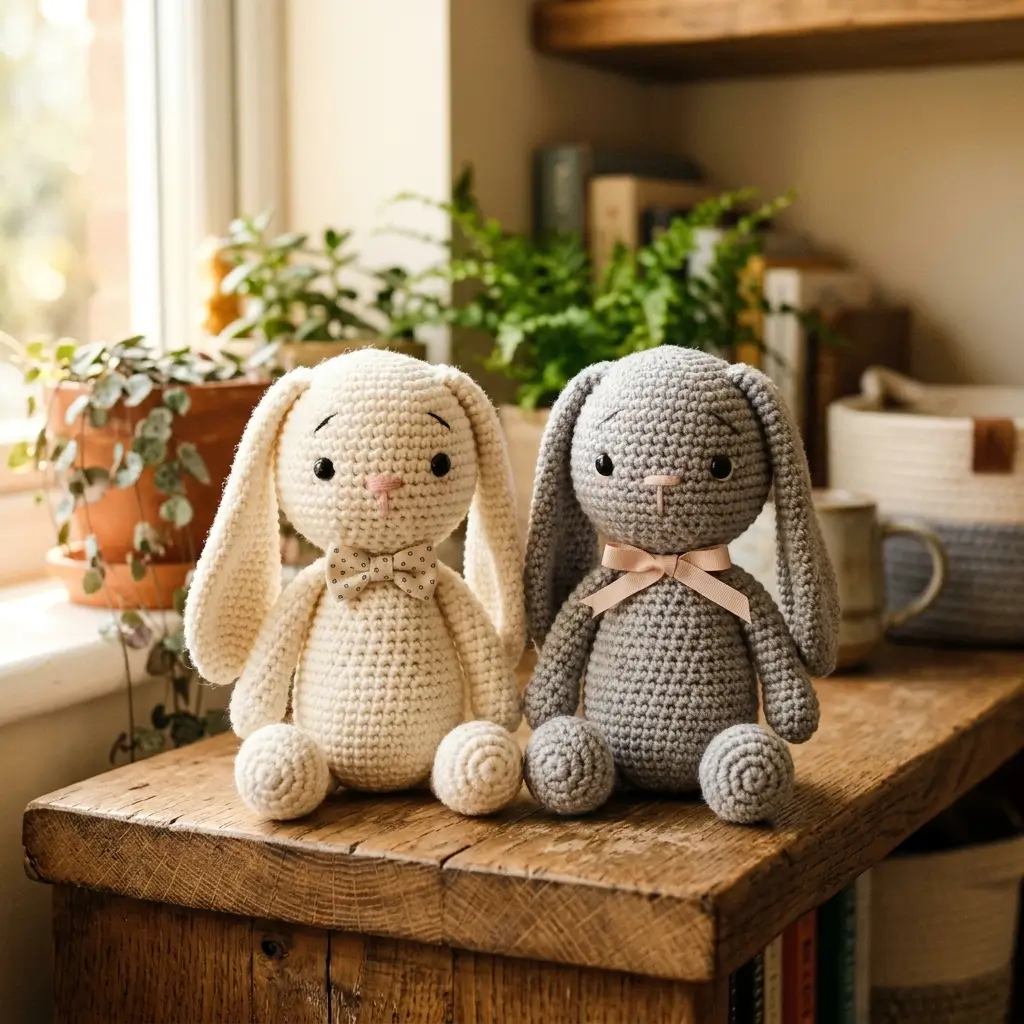
- A finished bunny makes a gentle, huggable gift for Easter, a baby shower, or any spring occasion.
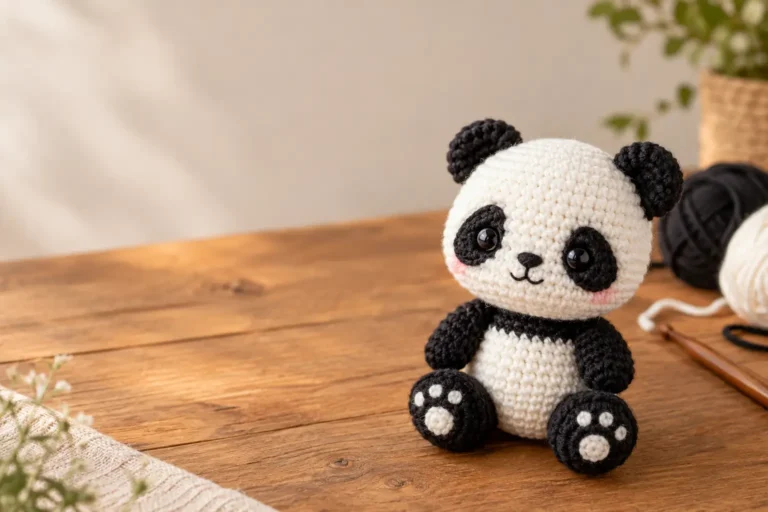
- Pair it with the crochet turtle amigurumi pattern or crochet panda pattern as a matched pair of animal friends for a nursery shelf.
- Attach a small ribbon around the neck for a simple, ready-to-gift presentation.
- Group a few in different colors as a growing collection for an amigurumi enthusiast.
FAQ
How long does a crochet bunny take to finish?
Most beginners complete this project in 1.5-2 hours, thanks to the low-sew design that only requires attaching the ears and tail.
What yarn works best for this crochet bunny?
Worsted weight cotton or plush amigurumi yarn works best, since it holds stitch definition well and gives the bunny its signature soft, huggable texture.
Why do my bunny’s ears stand up stiff instead of flopping?
This usually happens when the fold at the base of the ear isn’t pinched tightly enough before sewing — try folding it more firmly and securing the fold with a few extra stitches.
Can I use safety eyes if I’m a beginner?
Yes, though they can feel intimidating at first. Attach them before finishing the stuffing, while you can still reach inside to secure the backing, and test the placement by holding the pieces together first.
Do I need advanced amigurumi experience for this pattern?
No — this crochet bunny uses the same basic techniques (magic ring, increases, decreases, simple flat rows for the ears) as most beginner amigurumi patterns.
Conclusion
This crochet bunny proves that an amigurumi project with real personality doesn’t require advanced skills — five manageable steps take you from a ball of yarn to a finished, floppy-eared friend. If you’d like a ready-made version with detailed photos, the Crochet Bunny Pattern on Etsy is a well-reviewed, beginner-friendly option worth checking out for inspiration. Whichever version you make, this little bunny is a satisfying and giftable addition to your amigurumi collection.