Crochet Flower Pattern in Under 30 Minutes (Easy Guide)
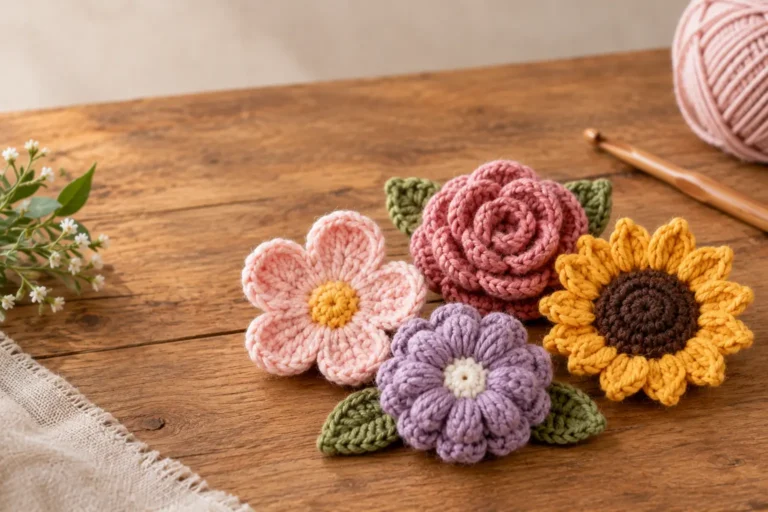
A crochet flower pattern is one of the most versatile projects you can learn, and this guide breaks it down into simple stages so you can finish a full flower in under 30 minutes. Flowers are a favorite quick project because they use almost no yarn, work up entirely in rounds with no complicated shaping, and can be attached to nearly anything — bags, headbands, blankets, or even a finished bookmark.
This crochet flower pattern is written with extra attention to keeping the petals crisp and evenly shaped, which is the one detail that makes a flower look polished rather than floppy. It’s a great fit for beginners, gift-makers, or anyone looking for a satisfying stash-busting project. Below, you’ll find everything from picking the right yarn to the small techniques that keep each petal looking neat and defined.
Table of Contents
Project Overview
- Time to complete: 20-30 minutes
- Finished size: Approximately 2-2.5 inches across
- Skill level: Beginner
- Hook size: 4.0mm (G/6)
This timeline is realistic for a first attempt — most beginners finish a single flower well within 30 minutes, making it an easy project to fit into a short break.
Why This Crochet Flower Pattern Works
Several small details make this crochet flower pattern reliable, even on your first try:
- A tight center ring keeps the flower compact. Starting with a magic ring rather than a chain circle avoids the small hole that a chain-start often leaves at the center.
- Working petals as individual stitch groups defines their shape. Rather than one continuous round, each petal is built from its own cluster of stitches, which is what gives the flower distinct, separated petals.
- A consistent stitch count per petal keeps things even. Using the same number of stitches for every petal prevents one side of the flower from looking larger than the other.
- Slip stitches anchor each petal cleanly. A slip stitch between petals creates a clean division point rather than a blurred transition.
- The finished flower lies flat. Because it’s worked as a single flat round rather than in a dome shape, this crochet flower pattern is easy to sew onto other projects without bulk.
Choosing the Right Yarn & Hook
For this crochet flower pattern, a worsted weight (size 4) cotton or cotton-blend yarn gives the best stitch definition, which matters more here than on a plainer project since the petal shapes need to hold up visually. A 4.0mm (G/6) hook paired with this yarn weight produces a fabric tight enough to keep the petals from looking floppy or see-through.
When buying yarn, a smooth, tightly plied cotton works better than anything fuzzy or textured, since flower petals rely on visible stitch definition to look crisp. If you’re shopping in person, cotton yarn labeled for amigurumi or dishcloths tends to have the right weight and firmness.
Acceptable substitutions: acrylic yarn works fine and is often available in a wider range of bright colors, though cotton tends to hold the petal shapes slightly better over time.
Materials & Prep
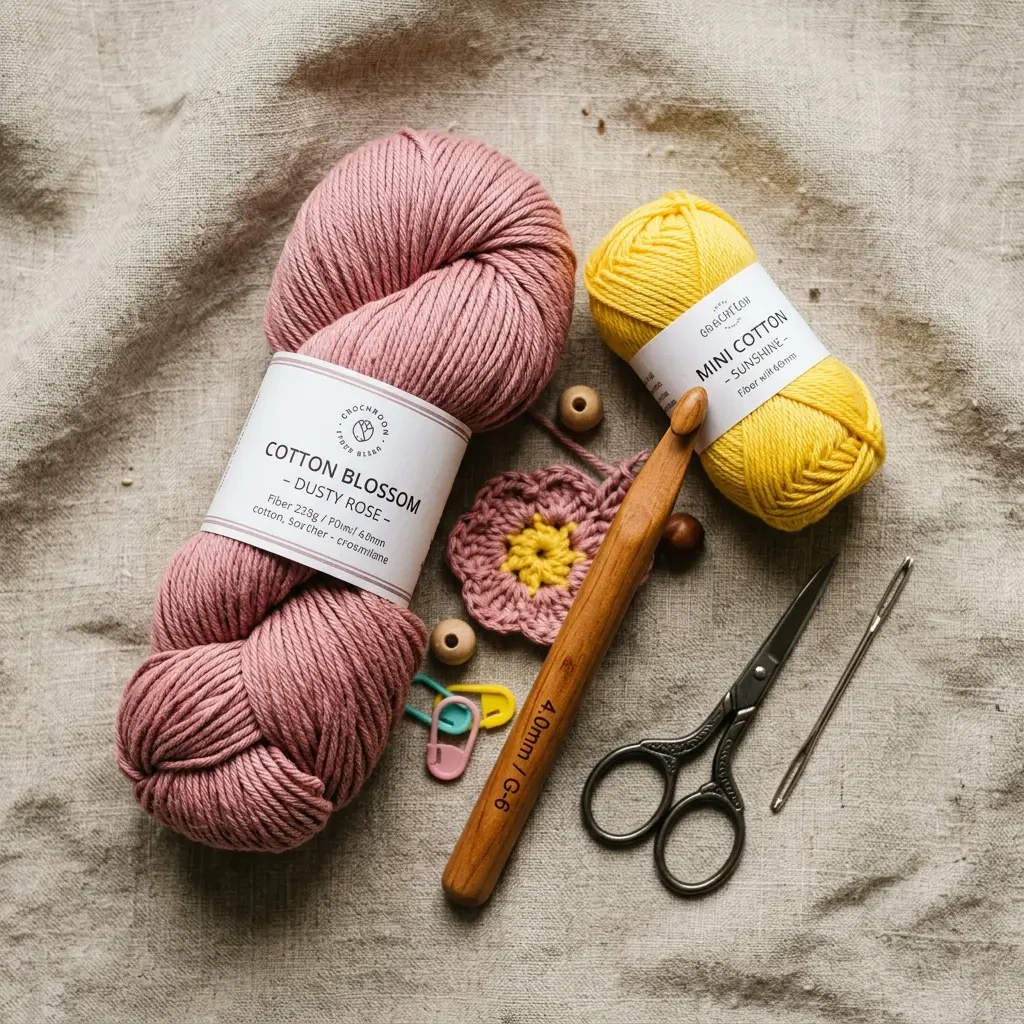
This crochet flower pattern uses minimal materials, making it an easy first purchase for new crocheters.
Main materials:
- Worsted weight cotton or cotton-blend yarn in your main color (~5-10 grams, a small scrap is enough)
- A contrasting color for the center, optional (~2 grams)
- 4.0mm crochet hook
- Tapestry needle
- Scissors
Prep essentials:
- Before starting, practice a magic ring a few times if you haven’t used one before — a loose magic ring is the most common reason for a small hole at the flower’s center.
- Familiarize yourself with these abbreviations: ch (chain), sc (single crochet), hdc (half double crochet), dc (double crochet), sl st (slip stitch), st(s) (stitch/stitches).
- Keep your yarn tail long enough at the start (about 6 inches) to weave in comfortably once the flower is finished.
Step-by-Step Instructions
Follow this crochet flower pattern one round at a time, and don’t rush the petal round — it’s where all the visible detail comes from.
Step 1: The Center Ring
- Make a magic ring and chain 1 (does not count as a stitch).
- Work 10 sc into the ring.
- Pull the ring closed tightly, then join with a slip stitch to the first sc. (10 sts)
Pro tip: pull the magic ring closed firmly before moving on — a loose center is the single most common reason a finished flower looks messy.
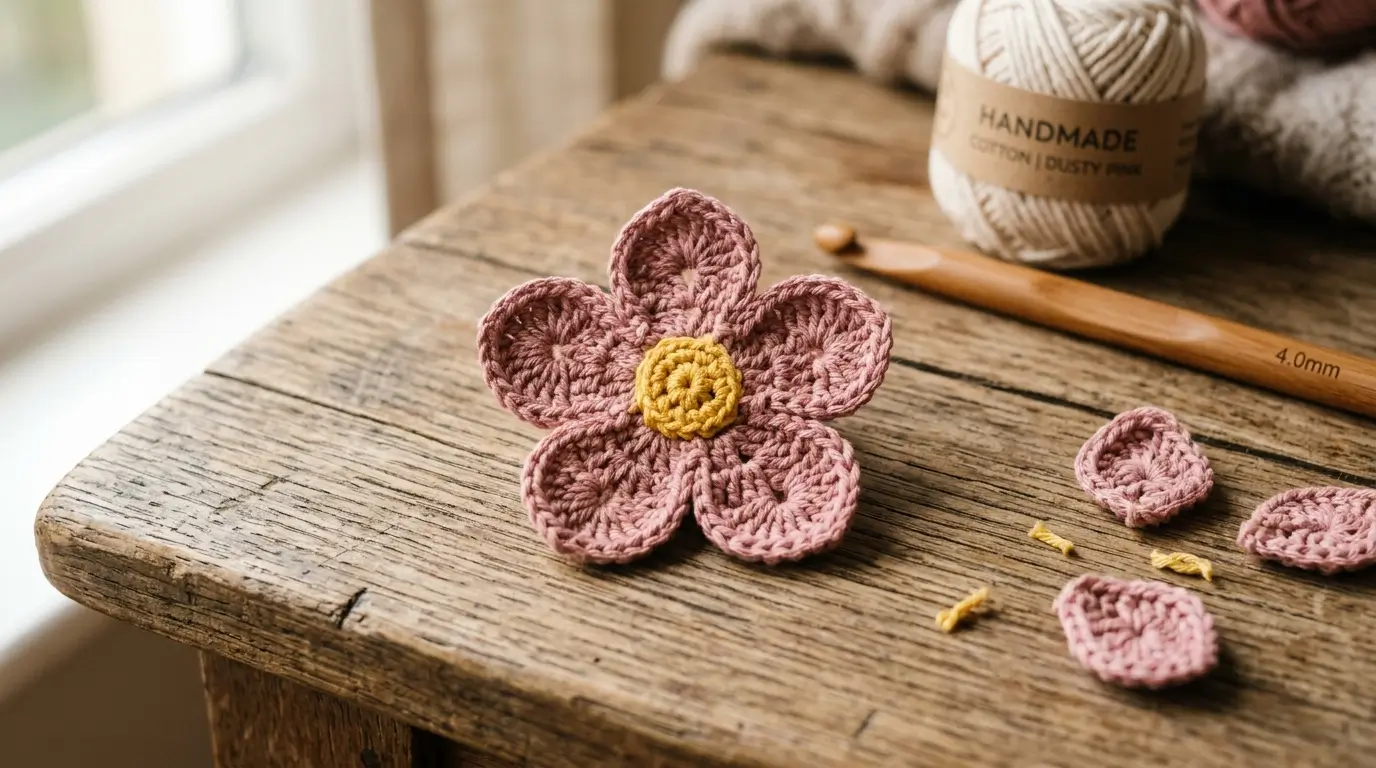
Step 2: The Petal Round
- Chain 3 (counts as first dc).
- In the same stitch, work 2 more dc, then sl st into the next stitch. This creates your first petal.
- Repeat around: ch 1, in the next stitch work (dc, dc, dc), sl st into the following stitch until you have 5 petals total.
- Fasten off, leaving a long tail for attaching the flower to your project.
Secret Trick #1: keep the same number of stitches in every petal (3 dc each) — an uneven petal count between flowers is the fastest way to make a flower look lopsided.
Secret Trick #2: pull each slip stitch snug before starting the next petal — a loose slip stitch blurs the division between petals instead of creating a crisp point.
Secret Trick #3: block the finished flower gently by pressing it flat with your fingers, or lightly steam it — this helps the petals lie flat rather than curling upward.
Step 3: The Center Accent (Optional)
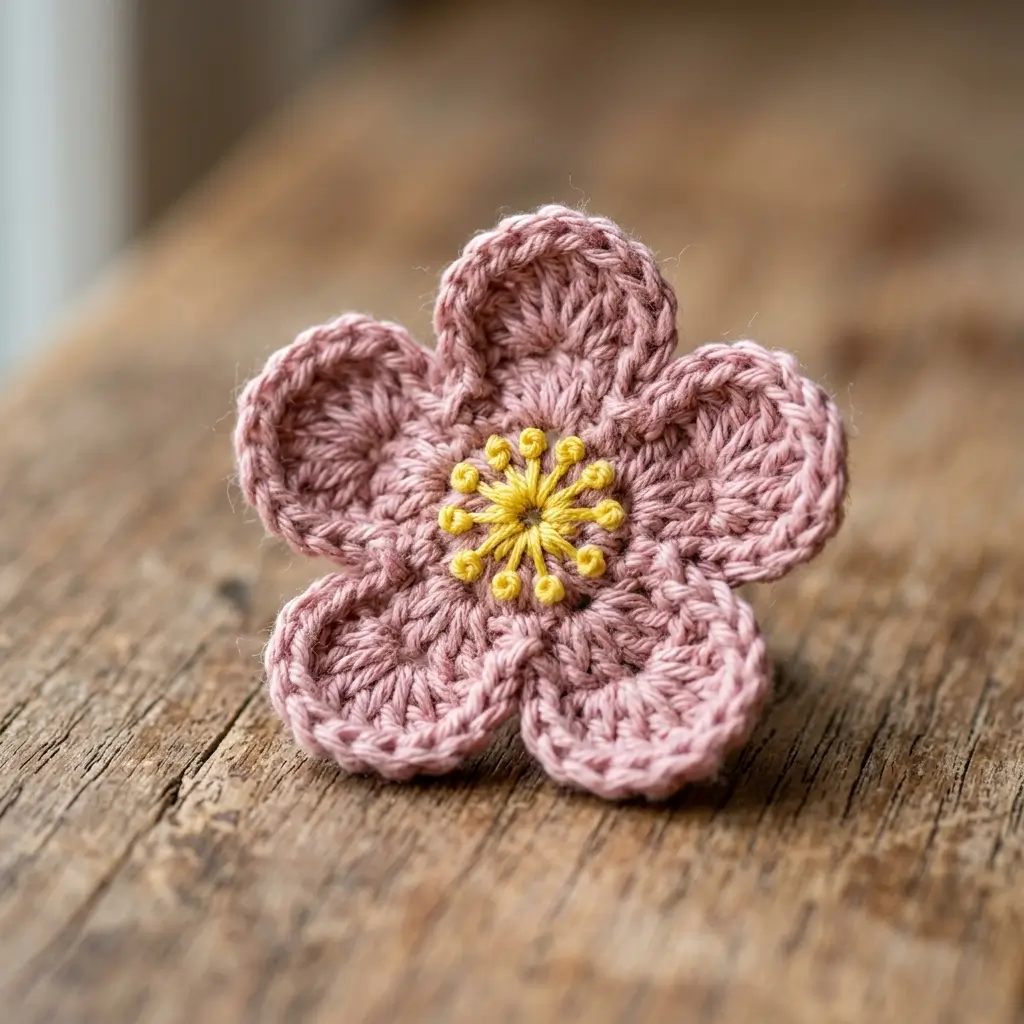
- Using a contrasting color, embroider a small French knot or a few straight stitches into the center of the flower with your tapestry needle.
- Weave in all remaining tails securely.
Doneness check: lay the finished flower flat on a table — if any petal sticks up higher than the others, gently reshape it with your fingers or a light steam before attaching it to anything.
Pro Tips
These tips will help this crochet flower pattern come out crisp and consistent every time:
- Count your stitches per petal, not just per round. Since each petal is a small cluster, losing track partway through is easy to fix immediately but hard to fix after several more petals.
- Use a slightly firmer tension than you would for a scarf. A flower needs enough structure to hold its shape once attached to a bag or headband.
- Make several at once in different colors. Because each flower takes under 30 minutes, this crochet flower pattern is ideal for batching into a small bouquet or a set of matching appliques.
- Save the yarn tails until you’re sure of placement. Weaving in too early makes it harder to adjust the flower’s position on whatever you’re attaching it to.
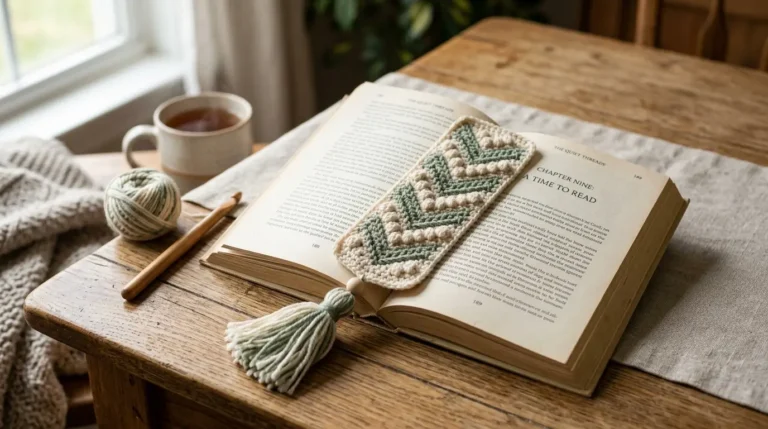
- Pair with other quick projects. Leftover yarn from this pattern works well with the crochet bookmark pattern or as an accent on the crochet baby bucket hat pattern.
Storage & Care
Because this crochet flower pattern produces such a small, lightweight piece, storage is simple. Keep finished flowers flat in a small box or drawer away from direct sunlight to prevent fading, especially if using bright colors. If a flower needs cleaning after being attached to a wearable item, spot-clean gently with a damp cloth rather than soaking, since repeated wetting can cause the petals to lose their crisp shape over time.
Pattern Variations
This crochet flower pattern adapts easily to a few simple changes:
- Layered flower: Work a second, smaller petal round in a contrasting color directly on top of the first for a layered, more dimensional look.
- Different petal counts: Reduce to 4 petals for a simpler daisy-like look, or increase to 6-7 petals for a fuller, rounder bloom.
- Larger statement flower: Use a bulkier yarn and larger hook (5.5-6mm) for a bigger flower suited to a hat or bag accent.
Gift & Styling Suggestions
A finished piece from this crochet flower pattern is small but versatile:
- Sew a few onto a plain headband or hair clip for a quick handmade accessory.
- Attach one to a finished crochet bookmark for extra detail.
- Group several in coordinating colors as a simple garland or bunting for a nursery.
- Pin one to a gift-wrapped present in place of a bow.
FAQ
How long does a crochet flower pattern take to finish?
Most beginners complete a single flower in 20-30 minutes, making it one of the fastest crochet projects to fit into a short session.
What yarn weight works best for this crochet flower pattern?
Worsted weight (size 4) cotton or cotton-blend yarn is ideal, since it holds stitch definition well and keeps the petals looking crisp rather than floppy.
Why do my petals look uneven?
Uneven petals usually come from an inconsistent stitch count between clusters — double-check that each petal uses the same number of stitches before moving to the next one.
Can I make this flower without a magic ring?
Yes — a chain-4 joined into a ring works as a substitute, though it may leave a slightly larger hole at the center compared to a properly tightened magic ring.
Is this crochet flower pattern suitable for absolute beginners?
Yes — it only requires basic stitches and a magic ring, making it one of the more approachable first projects even for someone brand new to crochet.
Conclusion
This crochet flower pattern proves that a beautiful, crisp-petaled bloom doesn’t require advanced skills or a lot of time — just a few careful habits around tension and stitch count. If you’d like a slightly more advanced flower project next, the Potted Flower Crochet Pattern on Etsy is a well-reviewed option worth checking out for inspiration. Whichever project you make next, this quick crochet flower pattern is a satisfying addition to any crocheter’s toolkit.