Crochet Baby Bucket Hat Pattern: 3 Secret Tricks for a Neat Brim
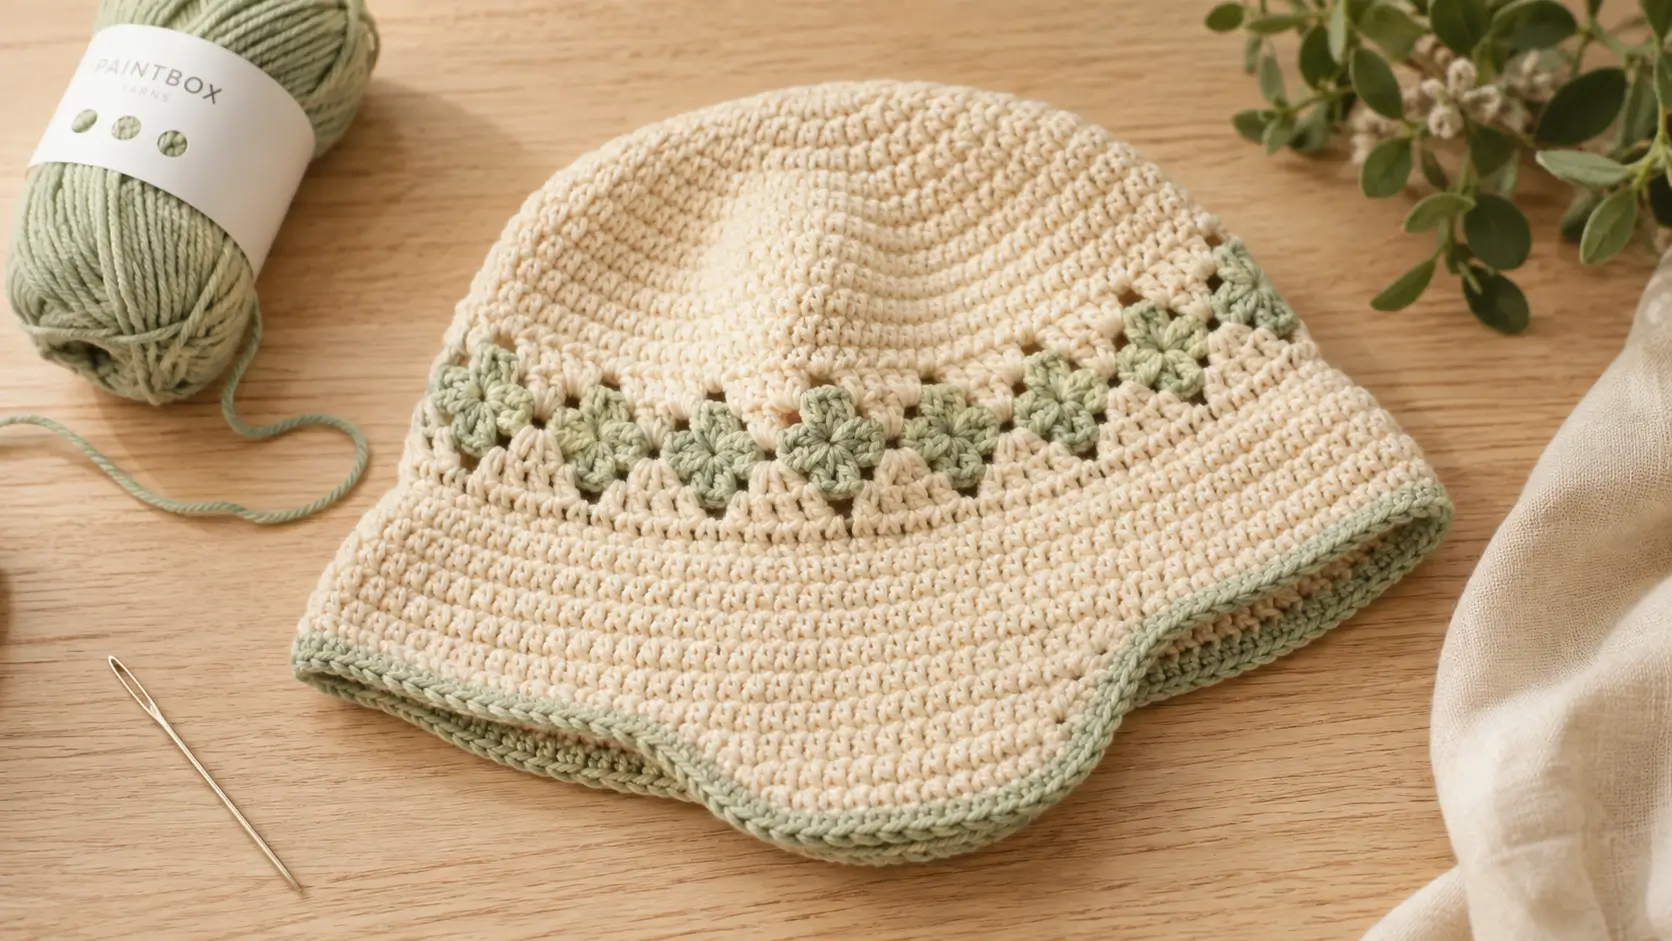
A crochet baby bucket hat pattern is one of the most rewarding summer projects you can make, and this guide reveals the small techniques that separate a professional-looking hat from a lumpy, uneven one. Bucket hats are a favorite baby gift because they’re practical (real sun protection), quick to finish, and forgiving enough for a confident beginner to tackle in a single afternoon.
This crochet baby bucket hat pattern is written with extra attention to the brim, since that’s the one part most beginners struggle with, and where these three secret tricks make the biggest visible difference. It’s a great fit for beginners, gift-makers, or anyone looking for a practical baby shower present that gets genuine use all summer long. Below, you’ll find everything from picking the right yarn to the finishing techniques that keep the brim flat and neat rather than curling or rippling.
Table of Contents
Project Overview
- Time to complete: 1.5-2 hours
- Finished size: Adjustable — instructions cover 3-6 months up to toddler size
- Skill level: Beginner to Intermediate
- Hook size: 5.0mm (H/8)
This timeline is realistic for a first attempt at this crochet baby bucket hat pattern — most beginners finish comfortably in one sitting, though the brim section benefits from working slowly rather than rushing.
Why This Crochet Baby Bucket Hat Pattern Works
Several specific techniques make this crochet baby bucket hat pattern reliable, even on your first try:
- A flat circular crown sets the foundation. Working the top of the hat in the round with even increases ensures the crown lies flat rather than cupping or ruffling.
- A straight body section defines the fit. Once the crown reaches the right diameter, working several rounds without increasing creates the snug band that fits around a baby’s head.
- The brim is worked as a separate, deliberate stage. Rather than just continuing to increase, the brim uses a specific increase rhythm that keeps it flat and wide instead of wavy.
- Stitch markers prevent drift. Because the hat is worked in a continuous spiral, a stitch marker at the start of each round stops the pattern from slowly spiraling out of alignment.
- A firm gauge holds its shape. A slightly tighter tension than a scarf or blanket keeps the finished hat structured enough to hold a brim rather than flopping.
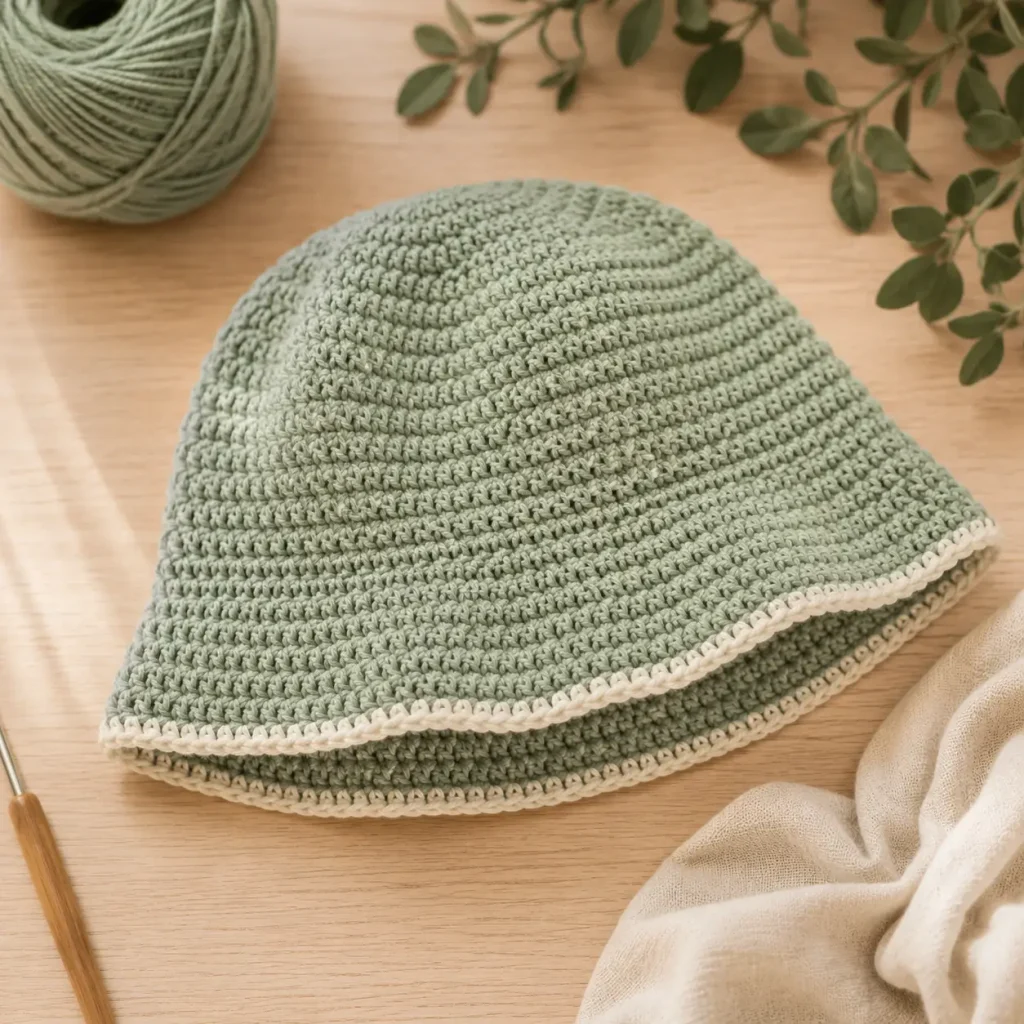
Choosing the Right Yarn & Hook
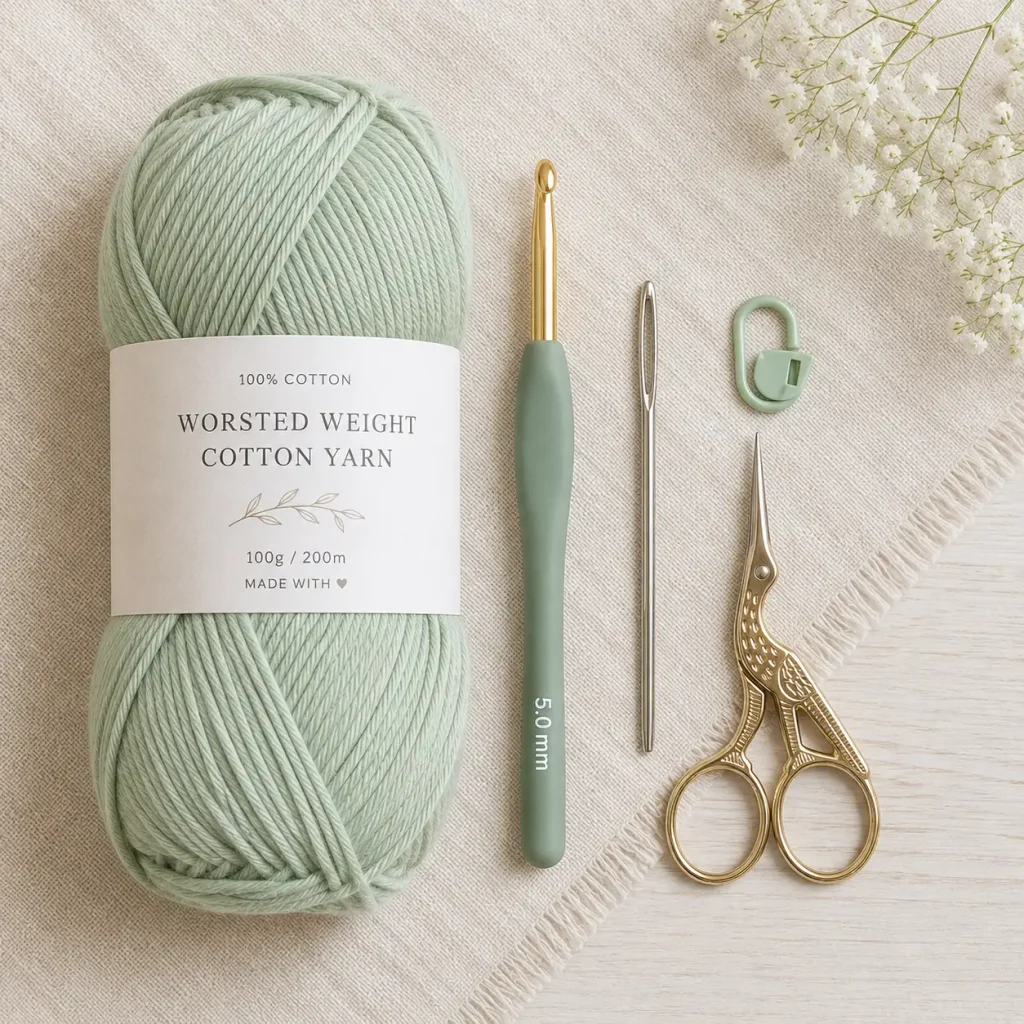
For this crochet baby bucket hat pattern, a worsted weight (size 4) cotton or cotton-blend yarn is the best choice. Cotton breathes well against a baby’s skin, which matters for a hat meant to be worn outside in warm weather, and it holds its shape better than a bouncier acrylic. A 5.0mm (H/8) hook paired with worsted weight yarn produces the firm fabric this pattern needs to keep its structure, especially through the brim.
When buying yarn, avoid anything marketed as “baby soft” if it’s also very loosely spun, since those yarns can stretch out of shape over a few wears. Look instead for a firmly twisted cotton or cotton-acrylic blend labeled for amigurumi or garments, which tends to hold gauge more reliably.
Acceptable substitutions: a cotton-acrylic blend works just as well as 100% cotton and can be easier to find in a wider range of colors, without a noticeable difference in the finished hat’s structure.
Materials & Prep
This crochet baby bucket hat pattern uses simple, budget-friendly materials that are easy to find at any craft store.
Main materials:
- Worsted weight cotton or cotton-blend yarn in your main color (~100-150 grams depending on size)
- A contrasting color for the brim trim, optional (~20 grams)
- 5.0mm crochet hook
- Tapestry needle
- Stitch marker
- Scissors
Prep essentials:
- Before starting, measure the intended wearer’s head circumference (or use a standard size chart) so you know which round to stop increasing at.
- Familiarize yourself with these abbreviations: ch (chain), sc (single crochet), hdc (half double crochet), inc (increase), st(s) (stitch/stitches), sl st (slip stitch).
- Place your stitch marker in the very first stitch of Round 1 and move it up every round — this crochet baby bucket hat pattern relies on continuous spiral rounds, so losing track of the start point is the easiest way to lose your place.
Step-by-Step Instructions
Follow this crochet baby bucket hat pattern one stage at a time — crown, body, and brim — rather than trying to rush through all three at once.
Step 1: The Crown
- Start with a magic ring, chain 1 (does not count as a stitch), and work 6 sc into the ring. Pull closed. (6 sts)
- Round 2: inc in every stitch around. (12 sts)
- Round 3: sc 1, inc repeat around. (18 sts)
- Round 4: sc 2, inc repeat around. (24 sts)
- Round 5: sc 3, inc repeat around. (30 sts)
- Continue increasing by 6 stitches each round (adding one more plain stitch between increases every round) until the flat circle measures the desired crown width for your size — roughly 6 rounds for 3-6 months, up to 9-10 rounds for toddler sizes.
Secret Trick #1: lay the crown flat on a table every couple of rounds and check that it stays flat, not cupping upward or rippling outward. If it cups, you’re increasing too slowly; if it ripples, you’re increasing too fast — adjust your next round accordingly rather than waiting until the end to notice.
Step 2: The Body
- Once the crown reaches your target width, stop increasing. Work even rounds of sc with no increases for 5-8 rounds, depending on the desired depth of the hat.
Pro tip: measure this section against the wearer’s head from crown to ear level, not just a generic measurement — babies’ head shapes vary more than you’d expect.
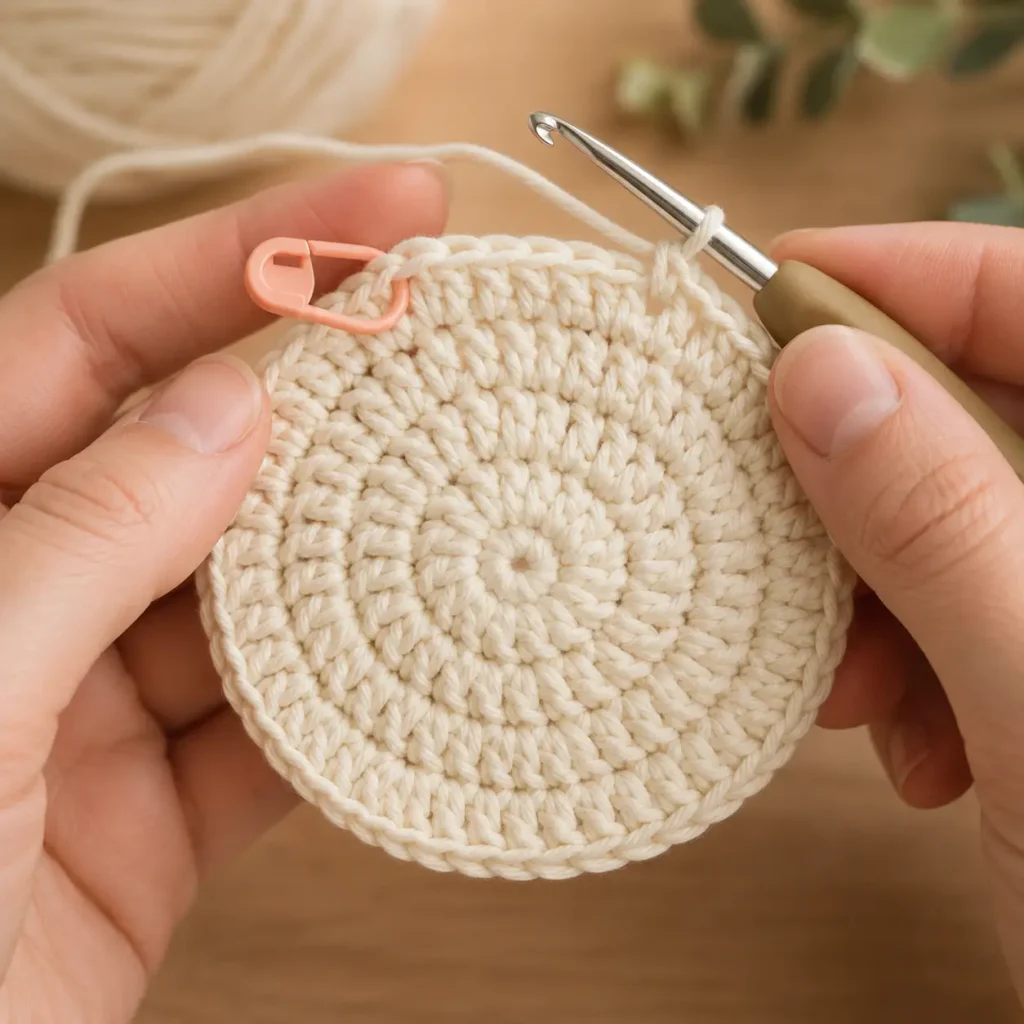
Step 3: The Brim
- Round 1 of the brim: sc 5, inc repeat around, adjusting the numbers so the increase count matches roughly one-sixth of your total stitches.
- Round 2: sc around with no increases.
- Round 3: sc 5, inc repeat around again.
- Round 4: sc around with no increases.
- Repeat this alternating pattern for 4-5 total brim rounds, or until the brim measures roughly 1.5-2 inches wide.
Secret Trick #2: alternate an increase round with a plain round rather than increasing every single round — increasing every round makes the brim ruffle instead of lying flat, which is the single most common bucket hat mistake.
Secret Trick #3: switch to a slightly looser tension for the brim only (go up half a hook size if needed) — a brim worked at the same tight tension as the crown often curls upward instead of draping down.
- Fasten off, leaving a long tail for weaving in.
Doneness check: try the hat on the intended wearer (or hold it against a similar-sized hat) before weaving in your ends — if the brim curls up rather than lying flat, block it with a light steam before calling it finished.
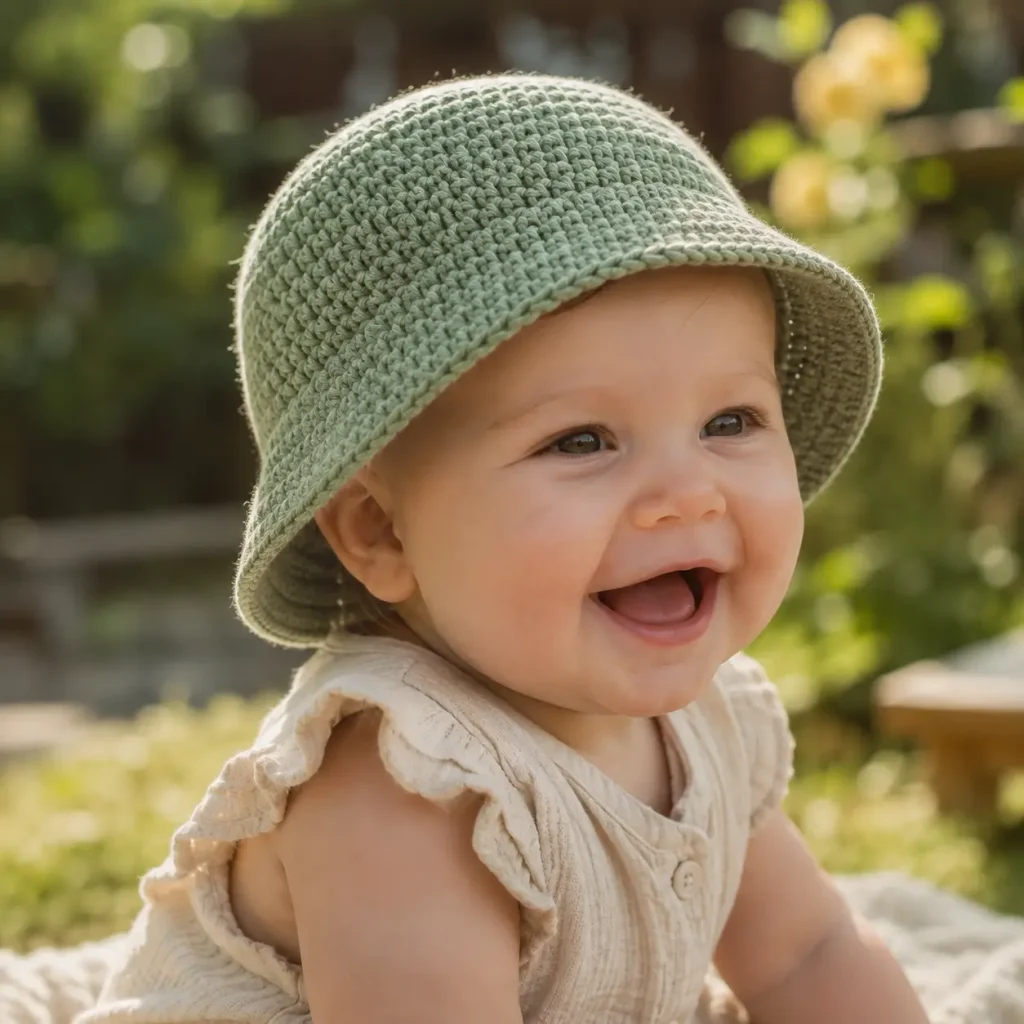
Pro Tips
These tips will help this crochet baby bucket hat pattern come out structured and polished:
- Block the finished brim. A light steam or damp-and-shape treatment helps a stubborn curling brim lie flat permanently.
- Count stitches at the end of every crown round. Since the crown relies on a precise increase count, an early miscount compounds quickly and is much easier to fix within the same round.
- Use a locking stitch marker, not a scrap of yarn. A proper marker won’t slip out mid-round, which matters even more on a project with three distinct construction stages.
- Don’t skip the “lay flat” check. Checking the crown’s shape as you go catches problems in seconds that would otherwise take several rounds of frogging to fix.
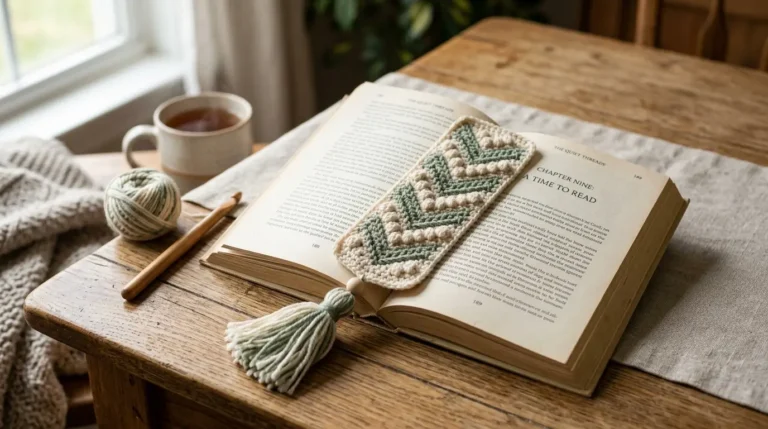
- Save leftover yarn for smaller projects. Any yarn left over from this crochet baby bucket hat pattern is perfect for a matching crochet bookmark pattern or other small stash-buster project.
Storage & Care
Because this crochet baby bucket hat pattern is meant for everyday summer wear, proper care matters more than for a decorative piece. Store the finished hat flat or lightly stuffed with tissue paper to help it hold its shape between wears, away from direct sunlight to prevent fading. If it needs cleaning, hand wash gently in cool water with a mild detergent, squeeze out excess water without wringing, and reshape while damp before laying flat to dry — this keeps the brim from losing its structure.
Pattern Variations
This crochet baby bucket hat pattern adapts easily to a few simple changes:
- Striped brim: Switch to a contrasting color for the brim rounds only, creating a clean color-block look that’s easy to coordinate with an outfit.
- Adjustable sizing: Simply stop the crown increases earlier for a smaller size, or continue a round or two longer for a bigger child, using the same basic structure throughout.
- Textured crown: Swap plain single crochet for half double crochet on the body section for a slightly thicker, more textured fabric.
Gift & Styling Suggestions
A finished piece from this crochet baby bucket hat pattern makes a genuinely useful gift, not just a decorative one:
- Pair it with the matching crochet turtle amigurumi pattern for a coordinated baby shower gift set.
- Make it in a gender-neutral color for a shower gift before the baby’s sex is known.
- Add a small contrasting brim for a beach-themed photo prop.
- Crochet two sizes at once (newborn and 12-month) so the gift grows with the child.
FAQ
How long does a crochet baby bucket hat pattern take to finish?
Most beginners complete this project in 1.5-2 hours, though the brim section is worth taking slowly for the best results.
Why does my bucket hat brim curl upward instead of lying flat?
This usually happens when the brim is worked at too tight a tension, or when every round is an increase round instead of alternating with plain rounds — try switching to a slightly looser tension for the brim only.
What yarn weight works best for this crochet baby bucket hat pattern?
Worsted weight (size 4) cotton or cotton-blend yarn is ideal, since it’s breathable for a baby and firm enough to hold the hat’s structure.
Can I make this pattern without a stitch marker?
It’s possible, but not recommended — since the hat is worked in a continuous spiral across three distinct stages, losing track of the round start makes it very easy to lose count of increases.
Is this crochet baby bucket hat pattern suitable for a true beginner?
Yes, with a little patience. The crown and body sections use only basic stitches, and the brim techniques, while called “secret tricks,” are simple habits rather than advanced skills.
Conclusion
This crochet baby bucket hat pattern proves that a flawless, professional-looking brim comes down to a few small, deliberate habits rather than advanced skill. If you’re looking for a coordinating gift, the crochet turtle amigurumi pattern makes a sweet pairing for a baby shower set. If you’d like a ready-made version with multiple sizes already charted out, the Easy Crochet Baby Bucket Hat Pattern on Etsy is a well-reviewed option worth checking out for inspiration. Whichever route you take, this crochet baby bucket hat pattern is a practical, giftable project that gets real use all summer long.