Crochet Newborn Blanket Pattern: 5 Easy Steps for a Cozy Wrap
A crochet newborn blanket pattern is one of the most meaningful gifts you can make by hand, and this guide breaks the whole project into five clear stages so it never feels overwhelming. Baby blankets are a favorite gift because they’re practical, deeply personal, and give you plenty of room to choose colors that suit the parents or nursery. This crochet newborn blanket pattern is written with extra explanation at every stage, so even if you’ve never finished a blanket-sized project before, you’ll understand not just what to do but why each step matters.
It’s a great fit for beginners, baby shower gift-makers, or anyone looking for a relaxing project to work on over several evenings. Below, you’ll find everything from picking the right yarn to finishing touches that make your blanket look polished rather than uneven.
Table of Contents
Project Overview
- Time to complete: 5-8 hours (spread across multiple sessions)
- Finished size: Approximately 28×34 inches
- Skill level: Beginner
- Hook size: 5.0mm (H/8)
This timeline is realistic for a first attempt — most beginners spread this crochet newborn blanket pattern across several evenings rather than finishing in one sitting, and that’s completely normal for a project this size.
Why This Crochet Newborn Blanket Pattern Works
Several specific choices make this crochet newborn blanket pattern reliable, even for a first large project:
- A wide foundation chain sets an even base. Starting with a carefully counted chain avoids the uneven edges that come from an inconsistent starting row.
- A simple repeating stitch pattern is easy to memorize. Using the same few rows repeated throughout means you won’t need to reference instructions constantly once you get going.
- Working in manageable sections prevents fatigue mistakes. Because this project takes several hours total, breaking it into stages helps you catch tension changes before they affect a large portion of the blanket.
- A simple border finishes raw edges cleanly. Rather than leaving edges as-is, a basic single crochet border gives the finished blanket a neat, complete look.
- Soft, washable yarn matters more here than in other projects. Since this blanket is meant for regular use and washing, the yarn choice directly affects how long it stays looking good.
Choosing the Right Yarn & Hook
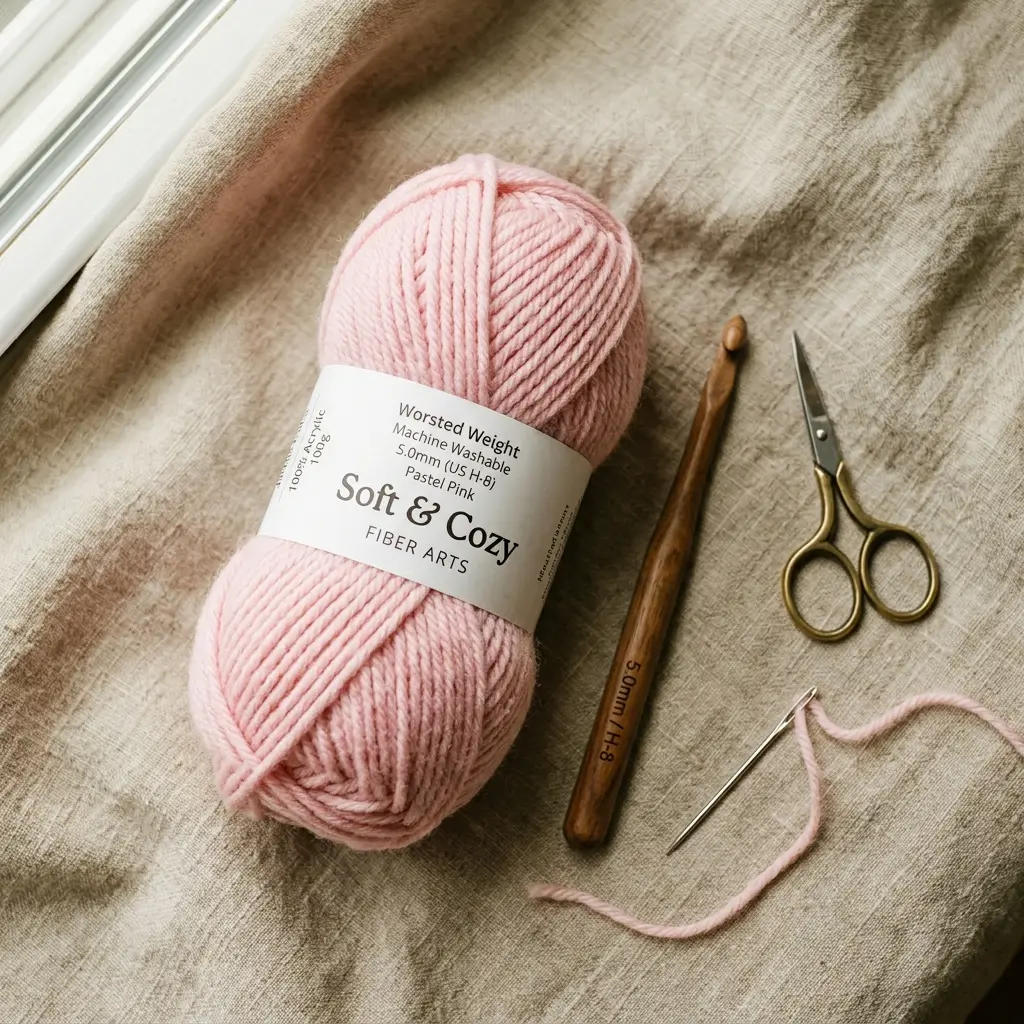
For this crochet newborn blanket pattern, a worsted weight (size 4) or bulky weight (size 5) machine-washable acrylic or cotton-acrylic blend is the best choice. Machine washability matters enormously for baby items, since parents need to be able to clean the blanket regularly without special care. A 5.0mm (H/8) hook paired with worsted weight yarn produces a soft, drapey fabric that’s cozy without being too heavy for a newborn.
When buying yarn, look specifically for labels that say “machine washable” and “baby safe” or “hypoallergenic,” since some baby-marketed yarns still require hand washing despite their soft feel. If you’re shopping in person, ask for yarn from a baby or nursery-specific yarn line, which is typically tested for softness against sensitive skin.
Acceptable substitutions: a bulkier yarn (size 5) works up faster and is a good option if you’re working under a time constraint, though it will use more yardage and produce a slightly less drapey fabric than worsted weight.
Materials & Prep
This crochet newborn blanket pattern uses budget-friendly materials that are easy to find at any craft store.
Main materials:
- Worsted weight machine-washable yarn in your main color (~650-750 yards, depending on tension)
- 5.0mm crochet hook
- Tapestry needle
- Scissors
- Stitch marker (optional, but helpful for tracking rows)
Prep essentials:
- Before starting, do a quick swatch to check your tension — a blanket doesn’t need exact gauge, but overly loose stitches will make the fabric flimsy and prone to stretching out of shape.
- Familiarize yourself with these abbreviations: ch (chain), sc (single crochet), hdc (half double crochet), dc (double crochet), st(s) (stitch/stitches).
- Wind your yarn into a center-pull ball or cake if it isn’t already, since a large project like this pulls yarn much faster than a small one, and a tangled skein becomes frustrating quickly.
Step-by-Step Instructions
Follow this crochet newborn blanket pattern one stage at a time, and don’t feel pressured to finish it in a single sitting — this is a project meant to be worked on gradually.
Step 1: Foundation Chain
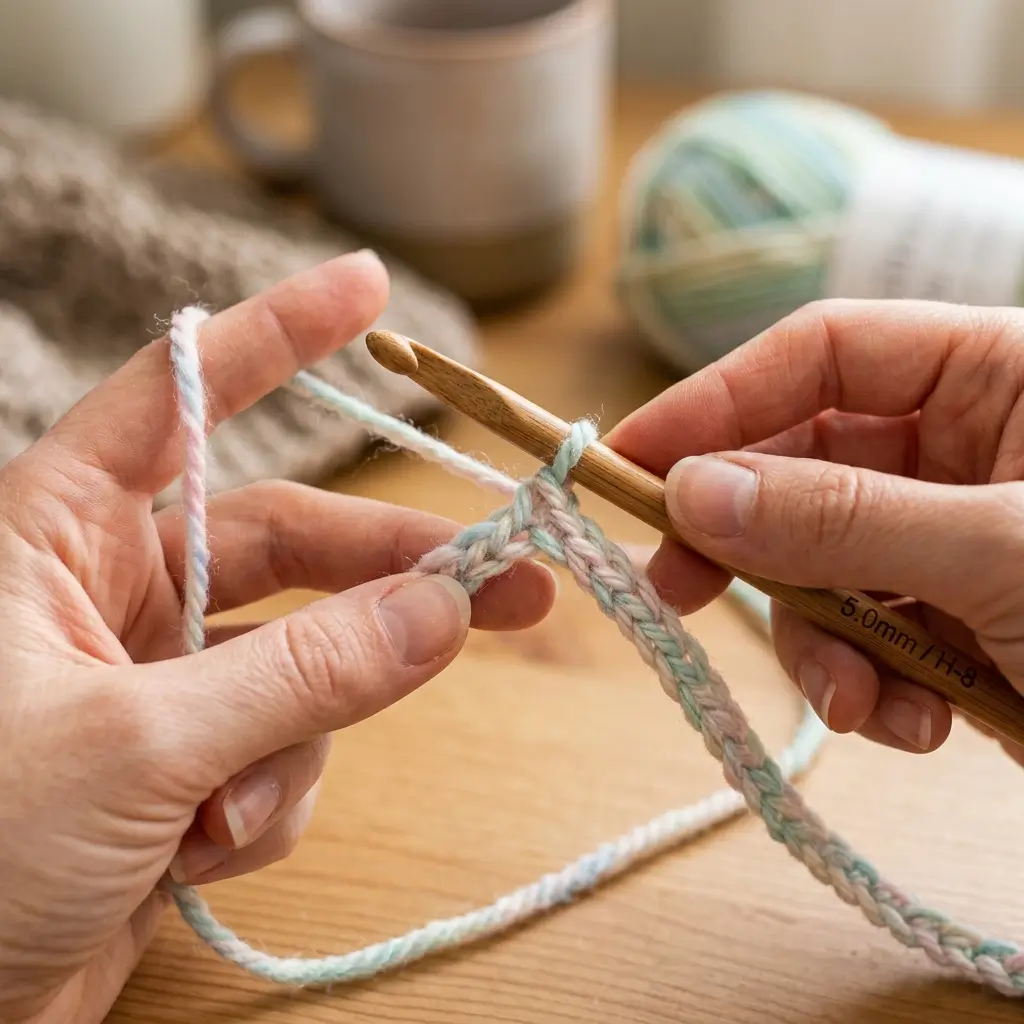
- Chain 101. This gives you a wide enough base for a standard newborn blanket size.
- Count your chain in sections of 10 as you go, rather than counting all 101 at once — this makes it much easier to catch a miscount early.
Pro tip: lay your chain flat and check that it isn’t twisted before starting Row 1 — a twisted foundation chain will cause your first row to spiral rather than lie flat.
Step 2: Row 1 (Foundation Row)
- Starting in the second chain from the hook, sc in each chain across. (100 sts)
- Chain 1, turn.
Pro tip: this first row is the most tedious part of the whole project, but getting an accurate, even stitch count here makes every following row significantly easier.
Step 3: Rows 2-40 (Textured Body)
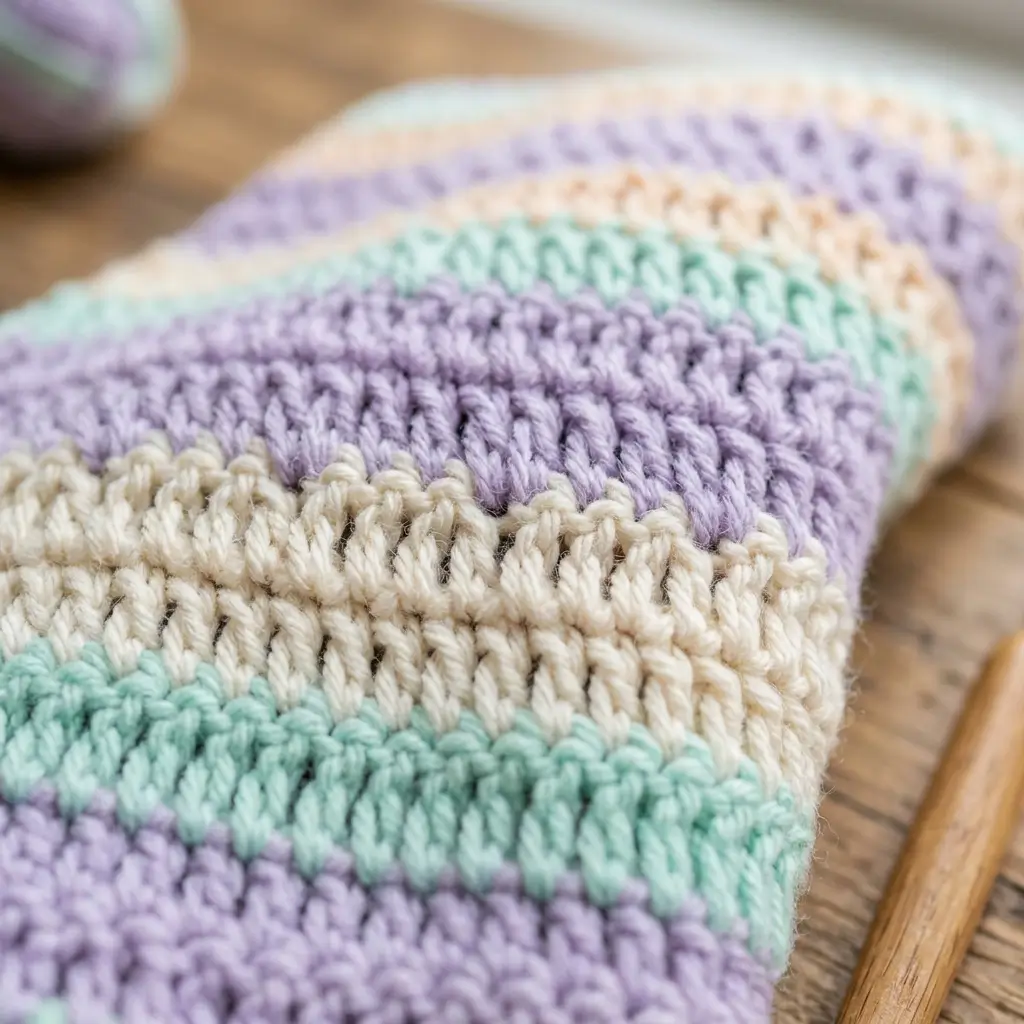
- Row 2: hdc 1, dc 1 repeat across. (100 sts) Chain 2, turn.
- Row 3: dc 1, hdc 1 repeat across. (100 sts) Chain 2, turn.
- Repeat Rows 2 and 3 alternately until your blanket measures approximately 32-34 inches long (roughly 38-40 total rows, depending on your tension).
Pro tip: measure your progress every 8-10 rows rather than only at the very end — this lets you adjust your remaining row count if your tension runs looser or tighter than expected.
Pro tip: take a short break every 30-40 minutes during long crocheting sessions — tension naturally drifts as your hands tire, and a quick break helps keep it consistent across the whole blanket.
Step 4: Finishing the Body
- Once your blanket reaches the desired length, fasten off, leaving a long tail for weaving in or transitioning into the border.
- Weave in the starting tail from Row 1 using your tapestry needle.
Doneness check: lay the finished body flat on the floor or a bed and check that all four corners look roughly square — if one side looks noticeably longer, it’s worth re-checking your row count before adding the border.
Step 5: Adding the Border
- Join your yarn in any corner stitch and chain 1.
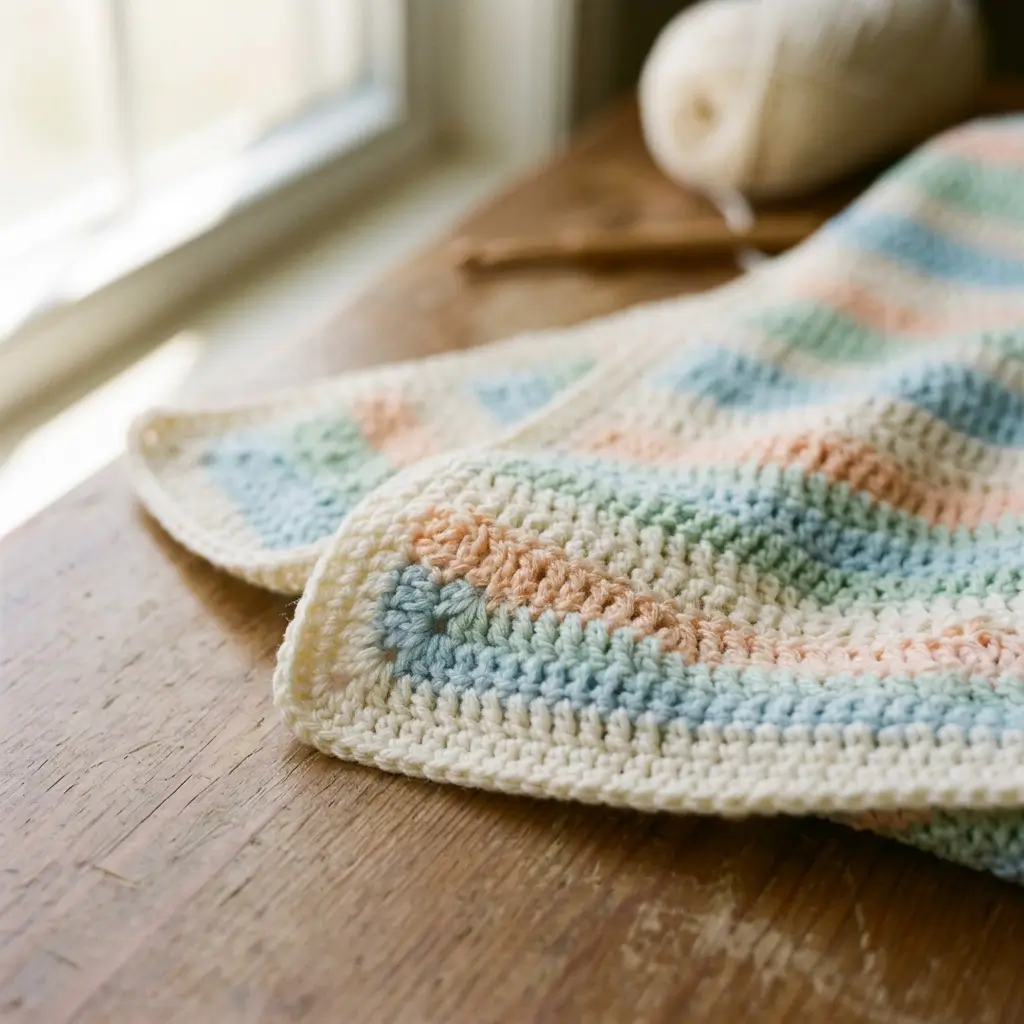
- Work sc evenly around all four sides of the blanket, working 3 sc into each corner stitch to keep the border from puckering.
- Join with a slip stitch to your first sc, then work a second round of sc the same way for a slightly thicker, more finished edge.
- Fasten off and weave in all remaining ends.
Resting step: once the border is complete, lightly steam or dampen-and-block the blanket flat, letting it dry completely before folding — this helps the edges lie flat rather than curling.
Pro Tips
These tips will help this crochet newborn blanket pattern come out even and polished:
- Count your stitches at the end of every row for the first several rows. Once you’re confident the pattern is repeating correctly, you can check less frequently, but early consistency prevents having to unravel large sections later.
- Keep a row counter or tally nearby. With 38-40 rows of body plus a border, losing track of your row count is easy without some form of tracking.
- Work corners with extra stitches, not fewer. Adding 3 sc into each corner during the border round is what keeps the finished blanket flat instead of cupping inward at the corners.
- Wash a small swatch before committing to a full skein purchase. This confirms the yarn is genuinely machine washable and won’t felt or shrink unexpectedly after the blanket is finished.
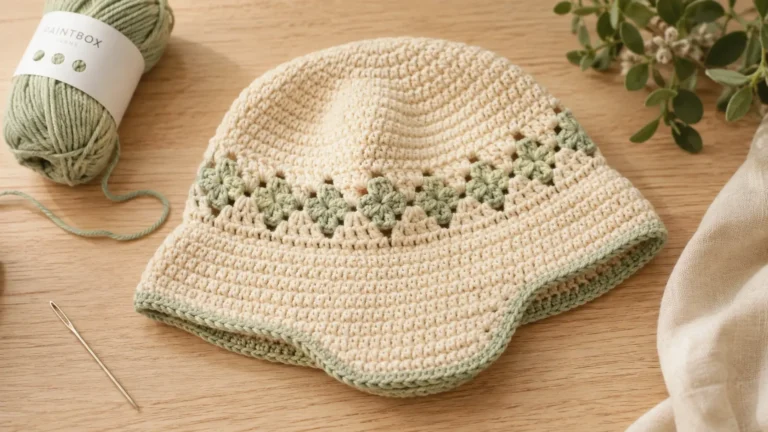
- Pair leftover yarn with a smaller project. Any yarn left over from this crochet newborn blanket pattern works beautifully for a matching crochet baby bucket hat pattern to complete a baby shower gift set.
Storage & Care
Because this crochet newborn blanket pattern is intended for regular use, proper care will keep it looking good for years. Machine wash in cold water on a gentle cycle, using a mild detergent, and tumble dry on low heat or lay flat to dry — always check your yarn label first, since drying instructions can vary between fibers. Store the folded blanket in a drawer or on an open shelf away from direct sunlight to prevent fading, and avoid folding it the same way every time to prevent permanent crease lines from forming in the fabric.
Pattern Variations
This crochet newborn blanket pattern adapts easily to a few simple changes:
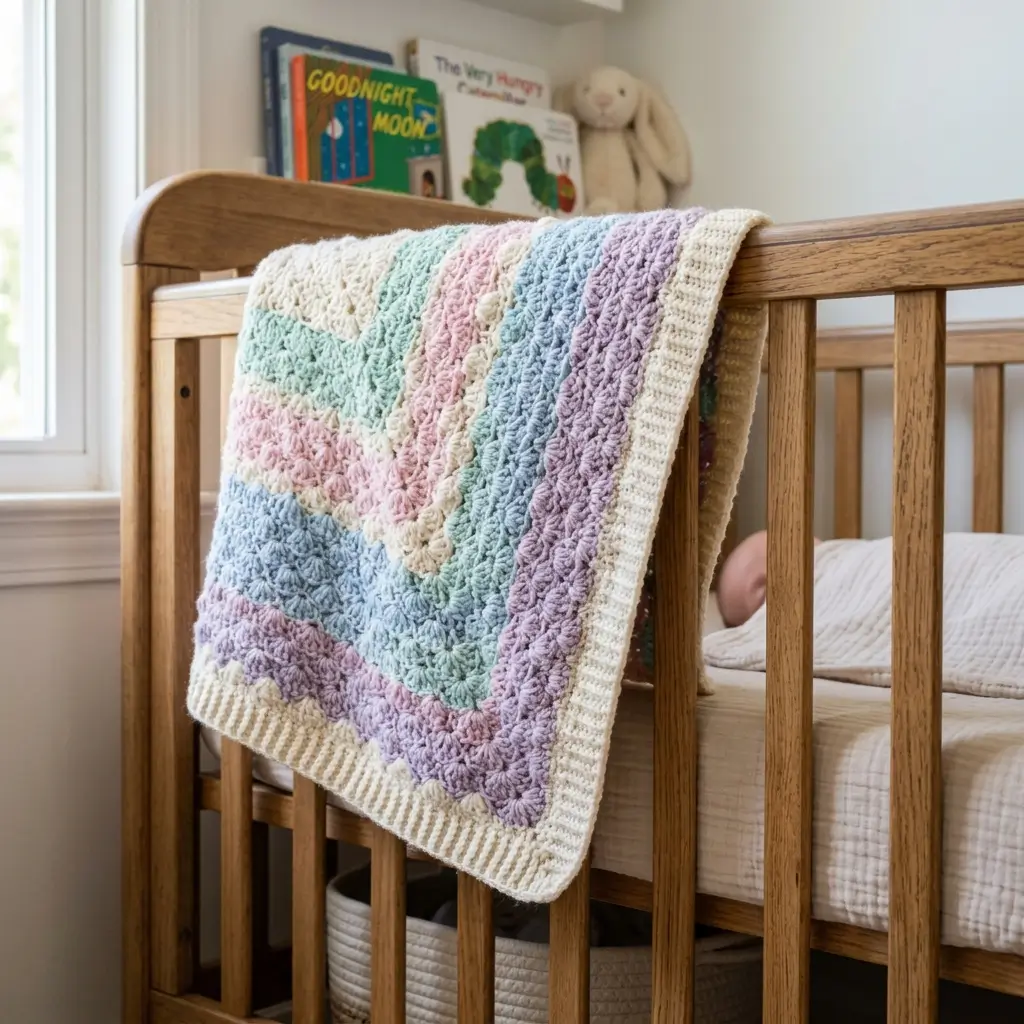
- Striped body: Switch main colors every 4-6 rows instead of using a single color, creating a clean striped effect that’s easy to coordinate with a nursery theme.
- Larger size: Add 20-30 extra foundation chains and continue the row pattern longer for a toddler-sized blanket that grows with the child.
- Simplified single-stitch version: Replace the alternating hdc/dc pattern with plain sc throughout for an even easier beginner version, though this will take noticeably longer to complete due to sc’s denser stitch count.
Gift & Styling Suggestions
A finished piece from this crochet newborn blanket pattern makes a genuinely cherished gift:
- Pair it with the matching crochet baby bucket hat pattern for a coordinated baby shower gift set.
- Choose a gender-neutral color palette for a shower gift before the baby’s sex is known.
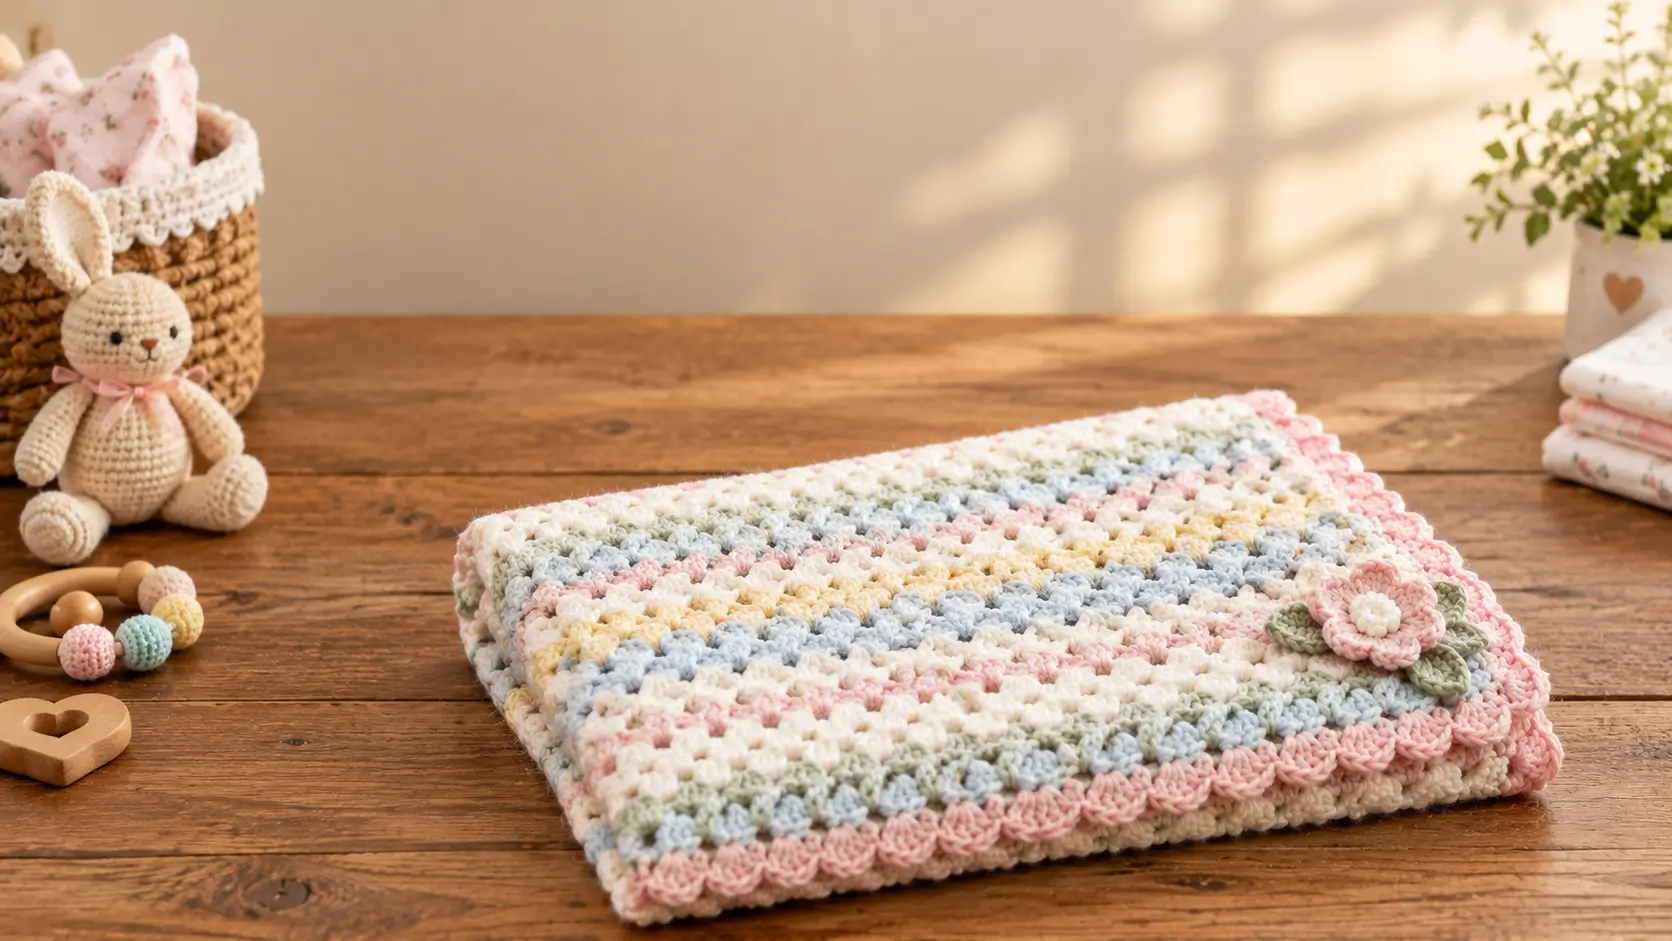
- Add a small crochet flower, like the one from the crochet flower pattern, sewn onto one corner as a personal decorative touch.
- Fold and tie with a simple ribbon for an elegant, ready-to-gift presentation.
FAQ
How long does a crochet newborn blanket pattern take to finish?
Most beginners complete this project across 5-8 hours of total crocheting time, typically spread over several evenings rather than one sitting.
What yarn works best for this crochet newborn blanket pattern?
Machine-washable worsted or bulky weight yarn is essential, since baby blankets need regular washing and softer, hypoallergenic options are gentler on sensitive skin.
Why does my blanket look uneven on one side?
This usually comes from gradually shifting tension over a long project — take breaks regularly and check your stitch count every several rows to catch drift early.
Can I make this blanket a different size?
Yes — simply adjust your starting chain length in multiples of 2 (to maintain the alternating pattern) and continue rows until you reach your desired length.
Do I need to know how to add a border?
It’s a simple technique even for beginners — single crochet around all four edges with extra stitches at the corners is all this pattern requires, no special border stitch needed.
Conclusion
This crochet newborn blanket pattern proves that a beginner can absolutely finish a full-sized, gift-worthy blanket — it just takes patience across a few sessions rather than advanced skill. If you’d like a more advanced textured option once you’ve finished this one, the Fairlie Throw Crochet Pattern on Etsy is a well-reviewed pattern that includes a dedicated baby blanket size worth checking out for inspiration. Whichever version you make, this crochet newborn blanket pattern is a heartfelt handmade gift that will be used and loved for years.