Crochet Tote Bag Pattern: 5 Easy Steps for a Sturdy Bag
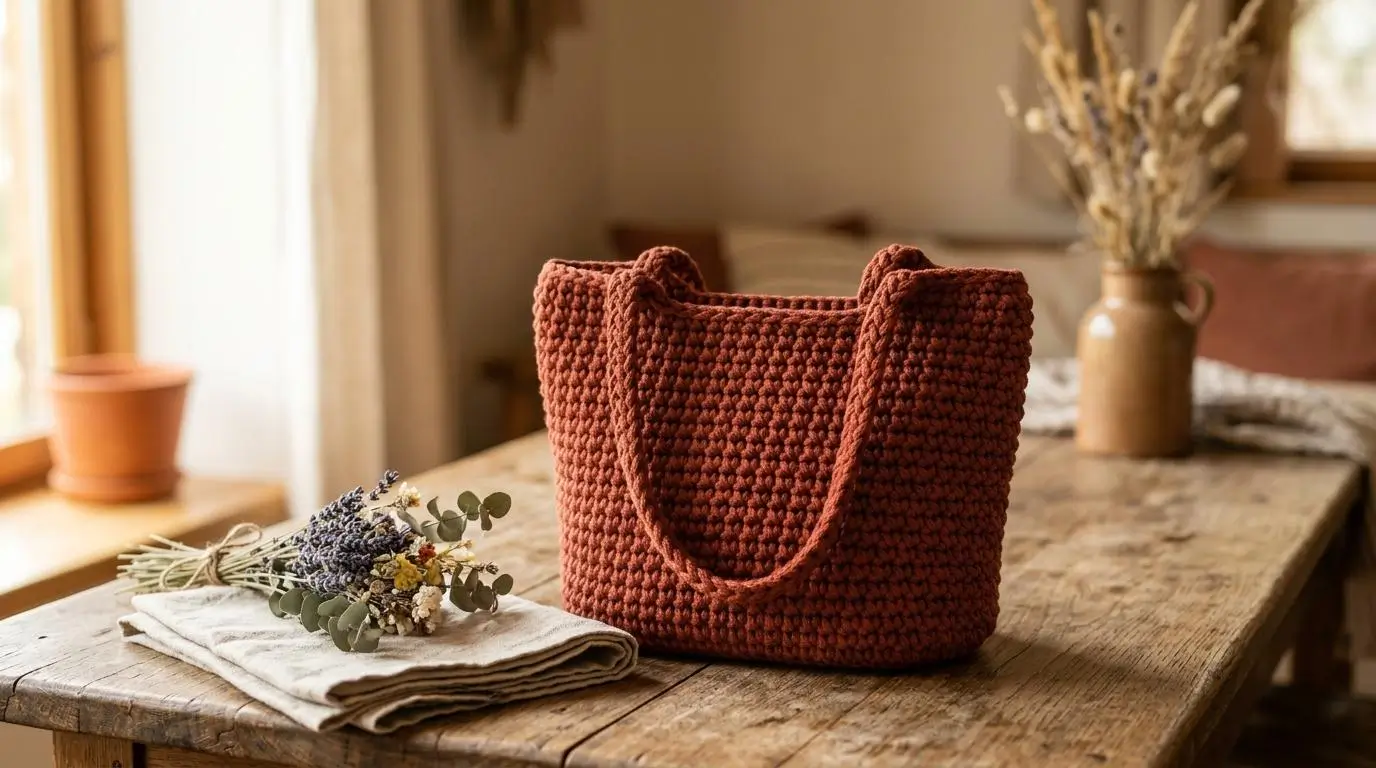
A crochet tote bag pattern is one of the most practical projects you can make, and this guide breaks the whole project into five clear stages so it never feels overwhelming. Tote bags are a favorite project because they’re genuinely useful for everyday errands, beach trips, or market shopping, while still being simple enough for a confident beginner to finish in a few sittings.
This crochet tote bag pattern is written with extra explanation at every stage, especially around building a sturdy base and attaching handles that won’t stretch out of shape, since those two details are what separate a bag that lasts from one that sags after a few uses. It’s a great fit for beginners, gift-makers, or anyone looking for a satisfying project that gets real daily use. Below, you’ll find everything from picking the right materials to the finishing techniques that keep your bag structured and long-lasting.
Table of Contents
Project Overview
- Time to complete: 3-4 hours
- Finished size: Approximately 14 inches wide × 13 inches tall (plus handles)
- Skill level: Beginner to Intermediate
- Hook size: 5.0mm (H/8)
This timeline is realistic for a first attempt — most beginners spread this crochet tote bag pattern across two or three sessions rather than finishing in one sitting, and that’s completely normal for a project this size.
Why This Crochet Tote Bag Pattern Works
Several specific choices make this crochet tote bag pattern reliable, even for a first bag project:
- A flat oval base sets a stable foundation. Starting with a carefully shaped oval, rather than a simple circle, gives the bag a more practical, rectangular-leaning footprint that holds items better than a round base.
- Single crochet worked tightly creates a sturdy fabric. Because bags need to hold weight without stretching or sagging, working in single crochet with firm tension produces a much sturdier fabric than taller stitches like double crochet.
- Working in continuous rounds avoids weak seams. Building the body in one continuous piece, rather than joining separate panels, removes the seam lines that tend to be the first place a bag fails under weight.
- Reinforced handles distribute stress evenly. Rather than attaching thin, single-layer straps, doubling back through the handle rounds spreads the weight of a full bag across more stitches.
- A worked-in top edge prevents curling. Finishing the top opening with a round of single crochet through the back loops only keeps the rim flat and neat instead of rolling inward over time.
Choosing the Right Yarn & Hook
For this crochet tote bag pattern, a sturdy cotton cord, T-shirt yarn, or a firm cotton-acrylic blend is the best choice. Bags need structure more than softness, so a yarn or cord with some body to it will hold its shape far better than a soft, drapey fiber meant for garments. A 5.0mm (H/8) hook paired with a firm cord produces a dense, sturdy fabric that won’t stretch out of shape under the weight of everyday items.
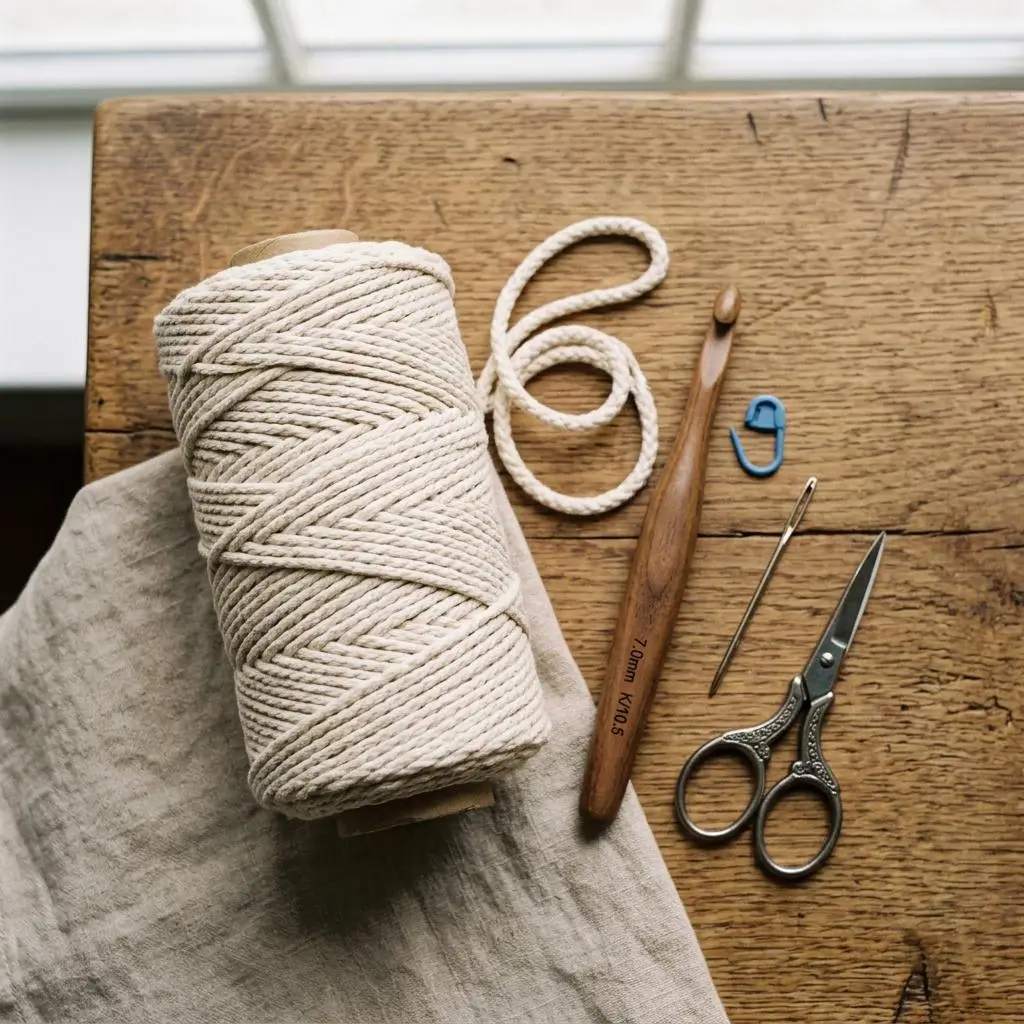
When buying materials, look specifically for yarn or cord labeled for bags, baskets, or home decor, since these are typically spun or braided with more structure than yarn meant for clothing. If you’re shopping in person, a braided cotton cord (sometimes sold for macrame) works particularly well and is widely available in craft stores.
Acceptable substitutions: worsted weight cotton yarn held double (two strands worked together) is a good substitute if cord isn’t available, producing similar thickness and structure.
Materials & Prep
This crochet tote bag pattern uses budget-friendly materials that are easy to find at any craft store.
Main materials:
- Sturdy cotton cord or T-shirt yarn (~300-350 yards, depending on tension)
- 5.0mm crochet hook
- Tapestry needle
- Scissors
- Stitch marker
Prep essentials:
- Before starting, do a quick swatch to confirm your tension — a bag doesn’t need exact gauge, but overly loose stitches will make the fabric flimsy and prone to stretching under weight.
- Familiarize yourself with these abbreviations: ch (chain), sc (single crochet), inc (increase), st(s) (stitch/stitches), BLO (back loops only).
- Keep your stitch marker on the first stitch of every round — since this pattern is worked in a continuous spiral, it’s easy to lose track of where a round starts, especially through the longer body section.
Step-by-Step Instructions
Follow this crochet tote bag pattern one stage at a time — base, body, handles, and finishing — rather than trying to rush through everything at once.
Step 1: The Oval Base
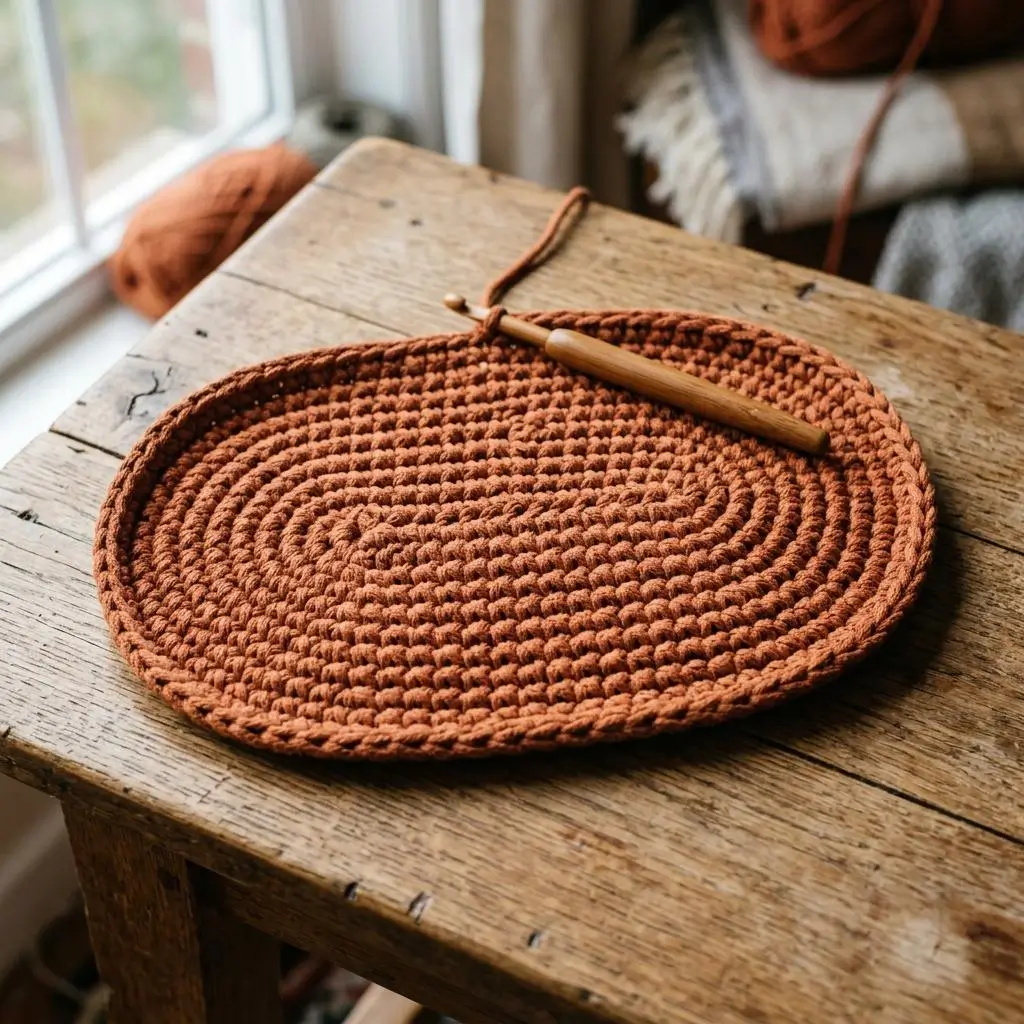
- Chain 21.
- Round 1: sc in the 2nd chain from the hook and in each chain across (19 sts). Work 3 sc into the last chain. Continue along the opposite side of the foundation chain, sc in each chain across (19 sts). Work 2 sc into the same first stitch to close the round. (42 sts)
- Round 2: inc in the first stitch. Sc in next 18 sts. Inc in next 3 sts. Sc in next 18 sts. Inc in last 2 sts. (48 sts)
- Round 3: inc in first stitch. Sc in next 20 sts. [Inc, sc] twice, inc. Sc in next 19 sts. Inc, sc, inc. (54 sts)
- Continue increasing evenly at the four “corner” points of the oval for 2-3 more rounds until the base measures roughly 14 inches long and 7 inches wide.
Pro tip: lay the base flat on a table every couple of rounds and check that it stays flat rather than cupping or rippling — this is much easier to correct a round or two in than after several more rounds.
Step 2: The Body
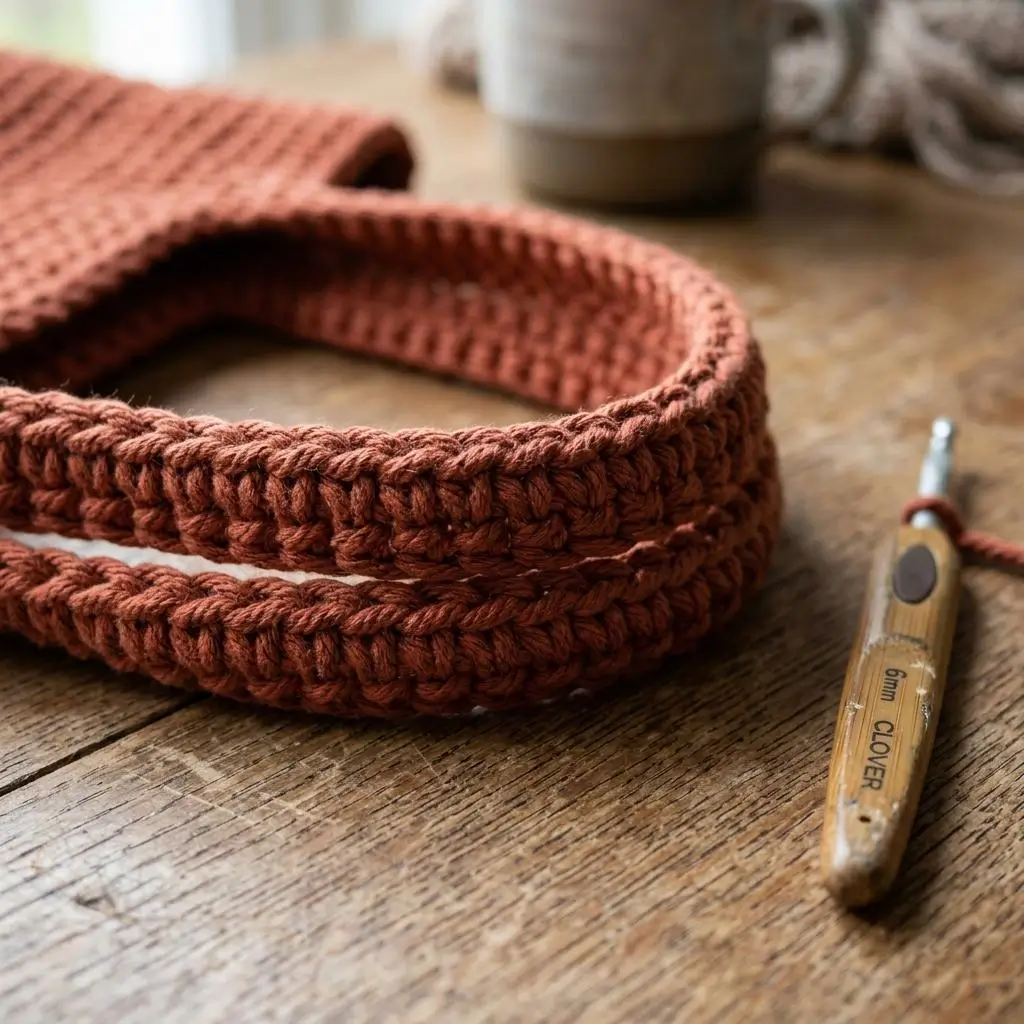
- Transition round: working in the back loops only (BLO), sc into every stitch around. This creates a visible ridge that marks a clean transition from base to body.
- Continue working sc rounds with no increases, all the way around, for approximately 16-18 rounds, or until the body reaches your desired height (roughly 12-13 inches).
Pro tip: measure your progress every 4-5 rounds rather than only at the end — this lets you adjust your remaining round count if your tension runs looser or tighter than expected.
Pro tip: keep your tension as consistent as possible throughout the body — a bag with visibly looser rounds partway up will bulge slightly at that point once it’s holding weight.
Step 3: The Handles
- Once the body reaches your desired height, work a set-up round: sc across the first 24 stitches, chain 30 (this becomes one handle), skip the next 14 stitches, sc across the next 24 stitches, chain 30 (the second handle), skip the last 14 stitches, join to close the round.
- On the following round, sc into each of the 24 body stitches, then sc into each chain of the handle (working into the back bumps of the chain for a neater finish), repeat around.
- Work 2-3 more rounds of sc across the entire round, including the handle stitches, to reinforce and thicken the handles.
Secret Trick: work an extra reinforcing round specifically over the handle sections only (skipping the body stitches) if your cord is on the thinner side — this adds extra strength exactly where the bag experiences the most stress.
Step 4: Finishing the Top Edge
- Work one final round of sc through the back loops only around the entire top opening, including across the handles.
- Join with a slip stitch and fasten off, leaving a long tail for weaving in.
Doneness check: turn the bag inside out and check that the base and body transition looks even all the way around — if one side looks noticeably different in height, it’s worth checking your round count before moving on.
Step 5: Weaving in Ends and Final Shaping
- Weave in all remaining tails securely using your tapestry needle, running them through several stitches on the inside of the bag rather than just a knot.
- Gently steam or lightly dampen the finished bag and shape it by hand, encouraging the base to sit flat and the sides to stand upright.
- Let the bag air dry completely in its shaped form before using it.
Resting step: letting the bag dry fully in its shaped form is what helps it hold its structure over repeated use, rather than slowly relaxing back into a flatter shape.
Pro Tips
These tips will help this crochet tote bag pattern turn out sturdy and long-lasting:
- Work tighter than feels natural at first. Bags benefit from denser fabric than most other crochet projects — if in doubt, go down half a hook size from what the yarn label recommends.
- Count your stitches at the end of every round during the base. The increase pattern compounds quickly, and catching a miscount early is much easier than unraveling several rounds later.
- Reinforce handles before you need to, not after they stretch. Adding an extra round of stitches to the handles during construction is far easier than trying to reinforce them once the bag is finished.
- Test the bag empty before loading it up. Carry it around briefly unloaded first to check that the handles sit comfortably and the shape holds before committing to heavier use.
- Save leftover cord for smaller projects. Any material left over from this crochet tote bag pattern works well for a matching crochet bookmark pattern or a simple crochet flower pattern accent sewn onto the finished bag.
Storage & Care
Because this crochet tote bag pattern is meant for regular use, proper care will keep it looking good for years. Spot-clean with a damp cloth and mild soap for light dirt, and reshape while damp if the bag loses some structure over time. If using cotton cord, occasional gentle hand washing in cool water is usually safe — always check your specific material’s care recommendations first. Store the bag stuffed lightly with tissue paper or a soft cloth to help it hold its shape between uses, rather than folding it flat.
Pattern Variations
This crochet tote bag pattern adapts easily to a few simple changes:
- Striped body: Switch colors every few rounds for a clean striped effect, using an invisible join technique to keep color transitions seamless.
- Smaller size: Reduce the base rounds by 1-2 and shorten the body height for a smaller everyday bag or a kid-sized version.
- Textured body: Swap plain single crochet for an alternating stitch pattern (similar to the technique used in the crochet newborn blanket pattern) for added visual interest on the sides.
Gift & Styling Suggestions
A finished piece from this crochet tote bag pattern makes a genuinely useful gift:
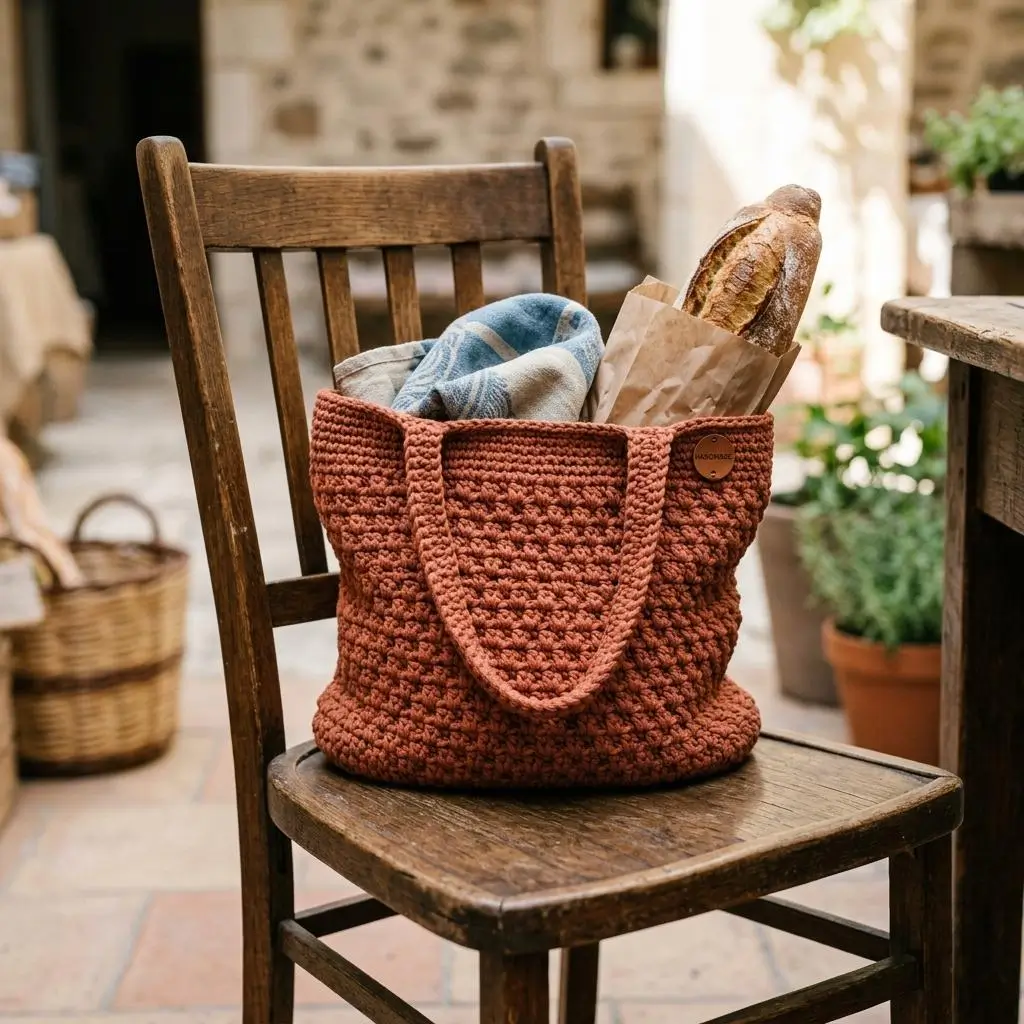
- Perfect as a reusable market or grocery bag, appealing to anyone interested in sustainable, handmade alternatives.
- Pair it with a small crochet flower or bookmark tucked inside for a thoughtful, coordinated gift set.
- Choose a neutral color for an everyday bag, or a bold color for a statement beach or vacation accessory.
- Add a button or simple closure at the top opening for a more secure, structured finish.
FAQ
How long does a crochet tote bag pattern take to finish?
Most beginners complete this project in 3-4 hours of total crocheting time, often spread across two or three sessions given the bag’s size.
What material works best for this crochet tote bag pattern?
Sturdy cotton cord or T-shirt yarn works best, since bags need structure and durability more than softness or drape.
Why does my bag’s base cup instead of lying flat?
This usually means the increase rate is too fast for the base’s size — try reducing increases slightly in the next round and check that the base lies flat every couple of rounds as you work.
Can I use regular soft yarn instead of cord?
It’s possible, but the finished bag will be noticeably less structured — if you do use regular yarn, hold two strands together and use a smaller hook than usual to compensate.
Do I need special hardware like a clasp or zipper?
No — this pattern is designed as a simple open-top tote with no hardware required, though you can add a button or magnetic snap afterward if you prefer a closed top.
Conclusion
This crochet tote bag pattern proves that a genuinely useful, sturdy bag doesn’t require advanced techniques — five manageable stages take you from a simple chain to a finished, practical tote you’ll actually use. If you’d like a ready-made version with additional structural techniques and video guidance, the Crochet Tote Bag Pattern on Etsy is a well-reviewed, beginner-friendly option worth checking out for inspiration. Whichever version you make, this crochet tote bag pattern is a satisfying project that earns its place in your everyday routine.